
Nano Banana Pro Interior Design Mockup Prompts From a Room Photo
Turn a room photo into controlled interior design mockups with Nano Banana Pro while preserving architecture, perspective, and scale.
Quick answer
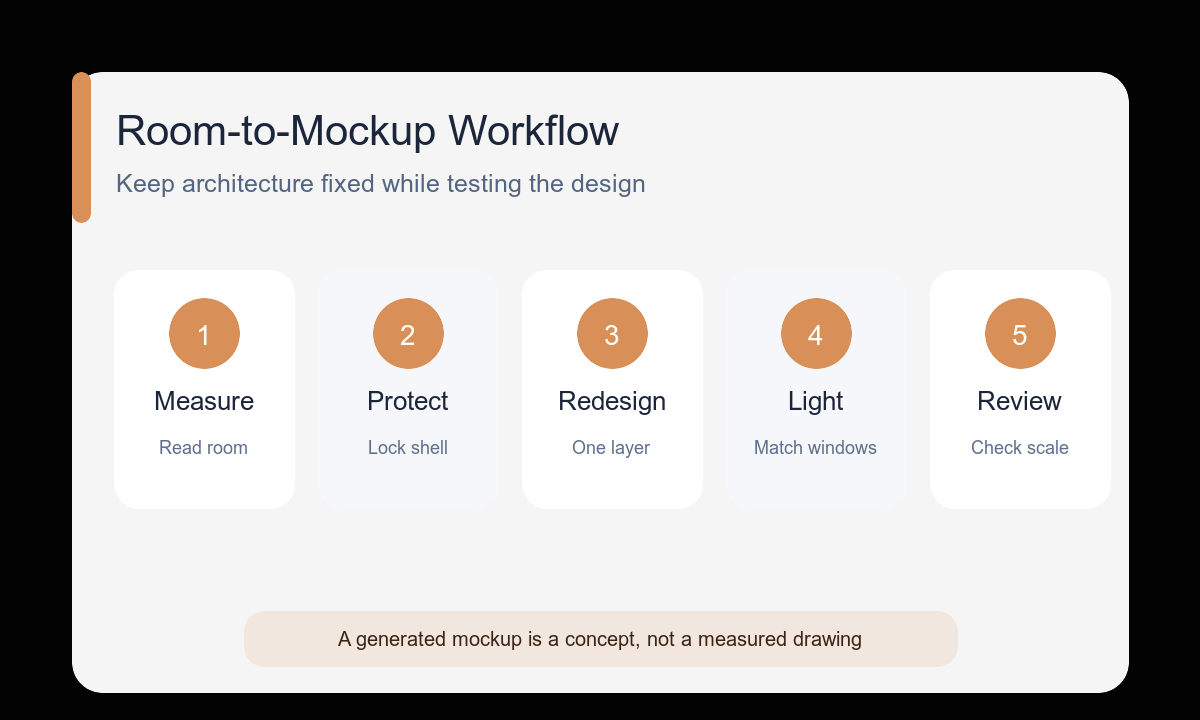
Start from a level, wide room photo and lock the shell: walls, windows, doors, ceiling, floor, camera position, and major circulation paths. Change one design layer at a time—palette, furniture, lighting, or decor—so the mockup remains spatially credible.
Who this guide is for
Homeowners, interior designers, property marketers, and furniture teams exploring room directions before creating measured drawings, purchase lists, or final visualizations.
Recommended model
| Use case | Recommended model | Why |
|---|---|---|
| This workflow | Nano Banana Pro in image-to-image mode | Use the higher-fidelity reference workflow when material cues, furniture proportions, and the room’s existing perspective need careful review. |
AIBase is an independent creative platform. Model names are shown only to identify supported underlying technologies and workflow choices.
Prompt template
Use the uploaded room photo as the fixed architectural reference. Preserve the exact camera position, walls, windows, doors, ceiling height, floor boundaries, built-ins, and room proportions. Redesign only [furniture/decor/material layer] in [specific style]. Add [named furniture pieces] at realistic scale while keeping clear walking paths. Materials: [three specific materials]. Lighting: [time and direction]. Do not move openings, widen the room, add structural features, distort perspective, duplicate furniture, or add text.
Step-by-step workflow
- Use a level source photo that shows the floor-wall boundaries and major openings.
- List fixed architectural elements and circulation constraints before the style direction.
- Change only one layer in the first pass, such as palette and furniture, not the entire architecture.
- Name furniture by type, count, approximate placement, and material.
- Match daylight direction to the visible windows and keep practical fixtures plausible.
- Compare the result to measurements before treating the mockup as a purchasing or construction plan.
Example prompt variants
- Preserve this living room shell and camera exactly; replace only furniture and decor with one low oat sofa, two walnut lounge chairs, a wool rug, and a slim stone table; warm minimal style; keep doorway clear.
- Preserve the bedroom walls, window, floor, built-in wardrobe, and lens perspective; redesign with a low oak bed, two compact nightstands, linen curtains, and soft plaster tones; morning light from the existing window.
- Preserve the kitchen layout, cabinets, appliances, island size, and camera; change only visible finishes to pale oak fronts, honed gray stone, and brushed steel hardware; neutral daylight; no new cabinets.
Quality checklist
- Windows, doors, walls, and built-ins remain in their original positions.
- Furniture scale and walking clearance look plausible for the photographed room.
- Vertical lines, horizon, and floor perspective remain coherent.
- Materials are distinct and lighting follows the real openings.
- The mockup is clearly treated as a concept, not a measured construction document.
Mistakes to avoid
- Using a cropped or tilted photo that hides the room geometry.
- Naming a style without listing the furniture and materials that define it.
- Allowing the model to move windows or enlarge the space for a prettier composition.
- Buying furniture or approving construction from an unmeasured generated mockup.
Related AIBase pages
- Create an interior mockup with Nano Banana Pro
- Use the high-fidelity Nano Banana Pro workflow
- Compare image editing models
Practical next step
Open the most relevant AIBase generator, run one narrow prompt first, and save the best result before adding more constraints. The fastest way to improve output quality is to compare one variable at a time: subject, camera, background, lighting, then final polish.