
Seedance 2 Hardcover Book Casing-In Process Video Prompts
Animate one source-led hardcover casing-in action with stable hands, text block, case boards, spine gap, endpapers, adhesive state, tools, and workshop geometry.
Quick answer
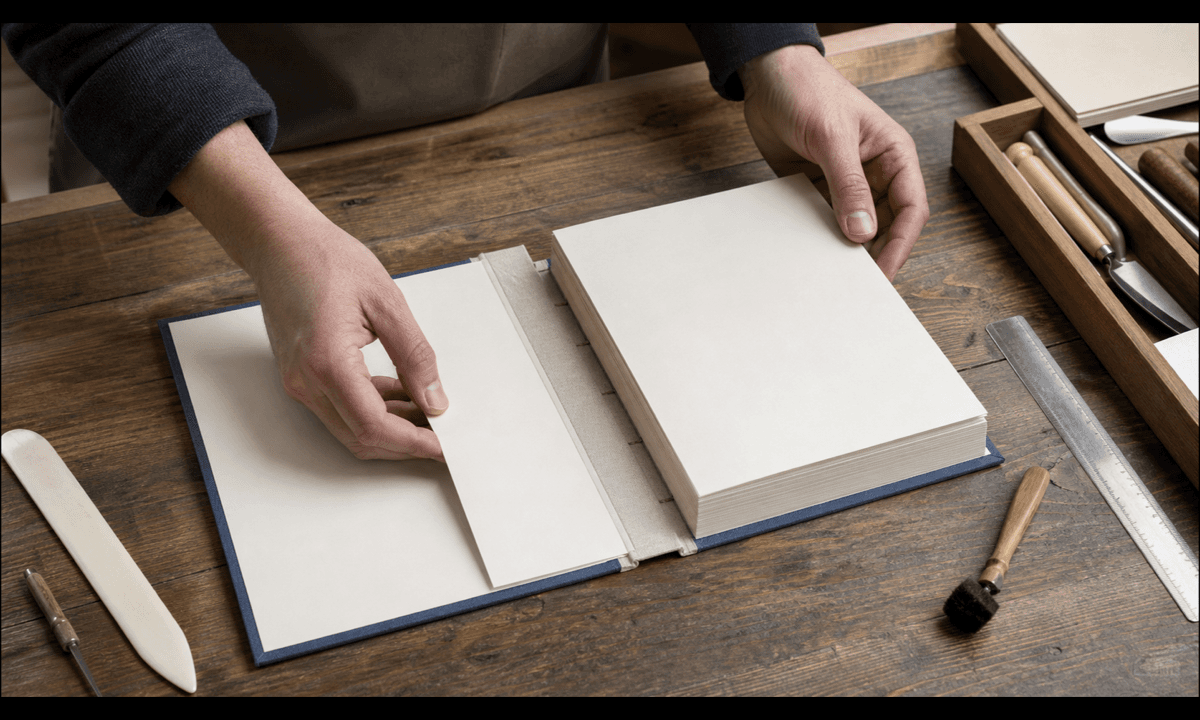
Start from an authorized workshop frame that already shows the exact text block, prepared case, spine gap, endpapers, adhesive state, hands and plausible alignment. Animate only one short positioning or gentle closing action. Lock page count appearance, board dimensions, square, joints, head and tail, grain direction, endpaper edges, hand anatomy, tools, bench, camera and light. Treat the clip as illustrative unless the binder verifies the material, adhesive, stage and method.
Who this guide is for
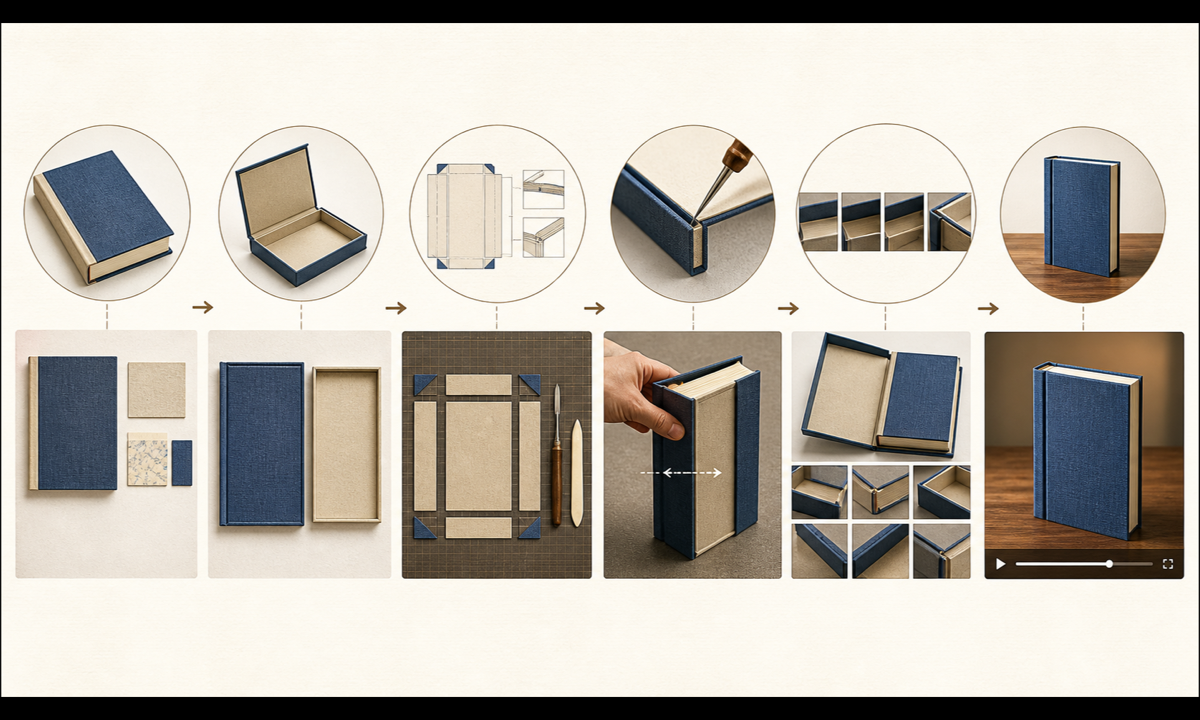
Bookbinders, presses, conservation studios, craft educators, stationery brands and social teams creating restrained process clips from their own workshop photography.
Recommended model
| Use case | Recommended model | Why |
|---|---|---|
| This workflow | Seedance 2 image-to-video for one bounded source-led casing-in action | A real first frame anchors the binding structure and workspace, while one short contact-driven movement limits hand, paper, board and joint drift. |
AIBase is an independent creative platform. Model names are shown only to identify supported underlying technologies and workflow choices.
Prompt template
Animate the uploaded authorized hardcover casing-in photo as the exact first frame. Over [4-5 seconds], move only [the prepared text block a short documented distance into alignment / the existing case board gently toward the glued endpaper], then stop before pressure or drying. Preserve exact text-block thickness, page edges, signatures, mull and spine lining if visible, case boards, square, spine gap, joints, covering material, head and tail, endpaper color and adhesive state, hand count, fingers, grip, bone folder, waste sheet, bench, crop, camera, light and shadows. No instant adhesion, page turn, trimming, pressing, finished book reveal, duplicated hand, warped board, changed title, text, sound or watermark.
Step-by-step workflow
- Confirm binder, photographer, hand model, workshop, manuscript, design, material, music and publication rights plus the factual reviewer.
- Verify binding structure, text-block preparation, case dimensions, square, joint allowance, endpaper, adhesive, grain direction, drying stage, tools and safety.
- Choose a sharp contact frame and map fixed versus moving anchors: hands, text block, case boards, spine, joints, endpapers, waste sheet, tools, bench and camera.
- Describe one short alignment path, contact and stop; generate a locked-camera pass before considering any subtle camera motion.
- Inspect every frame for fingers, page edges, text-block thickness, board geometry, square, spine gap, joints, endpaper stretch, adhesive spread, tools and endpoint stability.
- Add verified process caption, illustrative-motion disclosure, accessibility and licensed audio in editable post-production layers.
Example prompt variants
- Four-second overhead locked shot: the existing text block moves two centimeters into the prepared case alignment and stops; preserve page edges, boards, joints, endpapers, both hands and tools.
- Five-second three-quarter view: the approved front board closes only halfway toward the glued endpaper, with exact spine gap, square, wrist position and bench geometry maintained.
- Three-second no-contact alternative: the aligned book remains fixed while one loose waste-sheet corner settles slightly, preserving adhesive state, hands, boards, text block, camera and light.
Quality checklist
- Binding structure, text block, case, boards, square, spine, joints, endpapers, adhesive, hands, tools and workshop match the authorized source.
- Alignment path, hand contact, board rotation, paper flex, adhesive state and endpoint remain physically plausible for the verified method.
- Hands, fingers, page edges, text-block thickness, boards, joints, endpapers, tools and shadows do not morph or duplicate.
- Materials, archival quality, handmade origin, edition, durability, conservation and finished-book claims remain verified editable context.
- Sources, releases, process facts, prompt, output, frame review, disclosure, audio and approval remain traceable.
Mistakes to avoid
- Animating folding, sewing, rounding, backing, casing-in, pressing and trimming from one still.
- Accepting boards that bend, change thickness, lose their square or slide through the text block.
- Letting pages multiply, endpapers stretch, adhesive vanish or the book become instantly finished.
- Presenting illustrative motion as documentary proof of archival method, handmade origin, edition or durability.
Related AIBase pages
Practical next step
Open the most relevant AIBase generator, run one narrow prompt first, and save the best result before adding more constraints. The fastest way to improve output quality is to compare one variable at a time: subject, camera, background, lighting, then final polish.