
Nano Banana Pro Laptop Accessories Campaign Prompts
Build laptop-accessory campaign visuals with Nano Banana Pro while preserving connector types, device compatibility, product geometry, materials, labels, and compositing control.
Quick answer
Treat ports, plugs, key layouts, hinges, cable paths, device fit, and included items as product facts. Use authorized packshots as references, stage one setup at a time, and keep screen UI, compatibility copy, logos, and offer text as controlled layers. Reject any attractive frame that invents a connector or shows an impossible connection.
Who this guide is for
Consumer-electronics brands, marketplace sellers, accessory makers, distributors, and creative teams producing launch key visuals for hubs, stands, keyboards, chargers, sleeves, docks, and cable systems.
Recommended model
| Use case | Recommended model | Why |
|---|---|---|
| This workflow | Nano Banana Pro image-to-image for high-fidelity campaign staging | A reference-led Pro workflow gives the campaign room for detailed materials and lighting while keeping small hardware geometry and product identity under explicit protection. |
AIBase is an independent creative platform. Model names are shown only to identify supported underlying technologies and workflow choices.
Prompt template
Use the uploaded authorized packshots of [accessory SKU(s)] as exact product references. Create one campaign scene for [audience and use case]. Arrange [approved items and counts] around a [generic or approved device] with physically possible scale, support, port orientation, plug seating, cable bend, and desk contact. Camera [angle], lighting [direction], palette [brand palette], copy-safe zone [region]. Preserve every accessory silhouette, dimensions, connector type, port count and location, key layout, hinge, fastener, cable entry, material, finish, color, label zone, logo zone, and included component. Keep the device screen blank or supplied separately. No invented port, wireless indicator, compatibility badge, certification, performance claim, text, logo mutation, impossible cable route, floating object, watermark, or extra accessory.
Step-by-step workflow
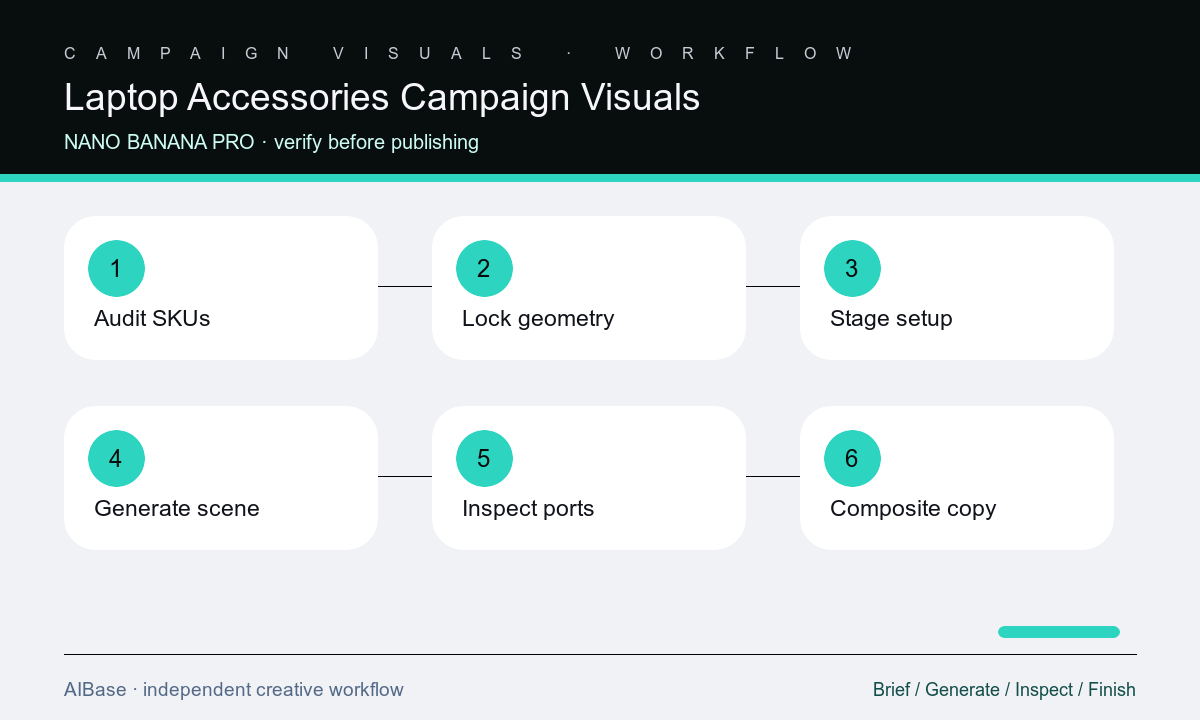
- Create a verified SKU sheet for dimensions, ports, plug types, cable length, included components, materials, colors, compatibility wording, certifications, and approved packshots.
- Choose one buyer task such as travel docking, compact desk setup, cable cleanup, hybrid work, or device protection and select only the accessories needed to show it.
- Block the composition with correct relative scale, device support, connector orientation, cable path, hand clearance, shadows, and a defined copy-safe zone.
- Generate the scene from authorized references, keeping screen UI blank and asking for one camera and lighting setup rather than multiple campaign messages.
- Inspect every connector, port, key, hinge, seam, cable, included item, shadow, reflection, screen edge, and physical contact at full resolution.
- Composite approved UI, logos, compatibility copy, claims, offer, CTA, and legal lines, then validate the final layout against the SKU sheet and destination page.
Example prompt variants
- Three-quarter campaign scene of the authorized seven-port hub connected once to a generic closed laptop, exact port count and order visible, realistic cable bend and plug seating, graphite desk, cool side light, left copy zone, blank labels and no extra ports.
- Overhead compact-workspace visual with approved low-profile keyboard, mouse, and folding stand at verified relative scale, clean cable routes, soft window light, preserve key count, hinge geometry, materials, colors, shadows, and blank laptop screen.
- Travel-kit flat lay using the approved sleeve, compact charger, two labeled-by-position but unreadable cables, and hub, exact item counts and product geometry, warm neutral surface, open copy zone upper right, no compatibility or charging claim.
Quality checklist
- Every SKU keeps its verified silhouette, dimensions, port count and type, connector orientation, key layout, hinge, fastener, cable, material, color, and included-item count.
- Accessories and devices meet, support, plug in, fold, and cast shadows in physically plausible ways with no floating parts or impossible cable paths.
- Screen UI, labels, logos, compatibility, wattage, speed, certification, warranty, price, offer, and CTA use approved editable assets and wording.
- The chosen buyer task is understandable with one coherent camera, lighting setup, hierarchy, and crop-safe copy zone.
- Product, engineering, legal, brand, ecommerce, and accessibility owners can trace the final visual to packshots, SKU facts, edits, and approvals.
Mistakes to avoid
- Letting the model add a convenient port, indicator, key, cable, magnetic connection, or included item that the product does not have.
- Showing a plug facing the wrong direction, a cable passing through an object, a stand supporting weight at an impossible angle, or mismatched device scale.
- Generating readable screen UI, compatibility badges, charging speeds, certifications, or performance claims instead of compositing approved copy.
- Placing every accessory in one frame until the buyer task, hero SKU, cable logic, and campaign message become unreadable.
Related AIBase pages
- Open Nano Banana Pro
- Use GPT Image 2 for product concepts
- Create ecommerce product bundles
- Compare Pro and GPT Image 2
Practical next step
Open the most relevant AIBase generator, run one narrow prompt first, and save the best result before adding more constraints. The fastest way to improve output quality is to compare one variable at a time: subject, camera, background, lighting, then final polish.