
Nano Banana Pro Compact Projector Campaign Product Photo Prompts
Stage exact compact projector references in credible home and travel campaign scenes while preserving optics, ports, vents, controls, stand geometry, scale, and projection claims.
Quick answer
Supply approved front, rear, side, top, underside, remote, stand, cable, port, vent, lens, and in-use references for the exact projector SKU. Ask Nano Banana Pro to place that same unit in one physically plausible scene with verified throw distance, support, ventilation clearance, cable state, ambient light, and scale. Generate a screen-neutral beauty plate first. Composite a real authorized projection capture separately whenever brightness, image size, contrast, color, keystone, focus, streaming UI, or content quality matters.
Who this guide is for
Consumer-electronics brands, ecommerce teams, home-cinema retailers, travel-gear sellers, product photographers, and agencies producing launch heroes, marketplace images, retailer banners, and social crops.
Recommended model
| Use case | Recommended model | Why |
|---|---|---|
| This workflow | Nano Banana Pro image-to-image for exact reference-led projector staging | Multiple product angles can anchor small optical, port, vent, control, and stand details while a higher-fidelity scene supplies credible context around the approved hardware. |
AIBase is an independent creative platform. Model names are shown only to identify supported underlying technologies and workflow choices.
Prompt template
Use the uploaded authorized compact-projector references as the exact product source. Place the same [SKU, color, and stand state] on [verified support] in a [home / studio / travel] scene. Preserve exact body silhouette, dimensions, corners, lens count and position, sensor windows, focus control, buttons, speaker grilles, vents, ports, covers, feet, stand hinge and angle, power input, cable exit, remote and included accessories if shown, finish, markings zones, and condition. Camera [specific], light [specific], crop [specific], ventilation and cable clearance [specific]. Screen area must remain blank or use an approved composite zone. No redesigned projector, extra lens, missing vent, impossible floating mount, fake projection, interface, streaming service, brightness or size claim, text, logo mutation, or watermark.
Step-by-step workflow
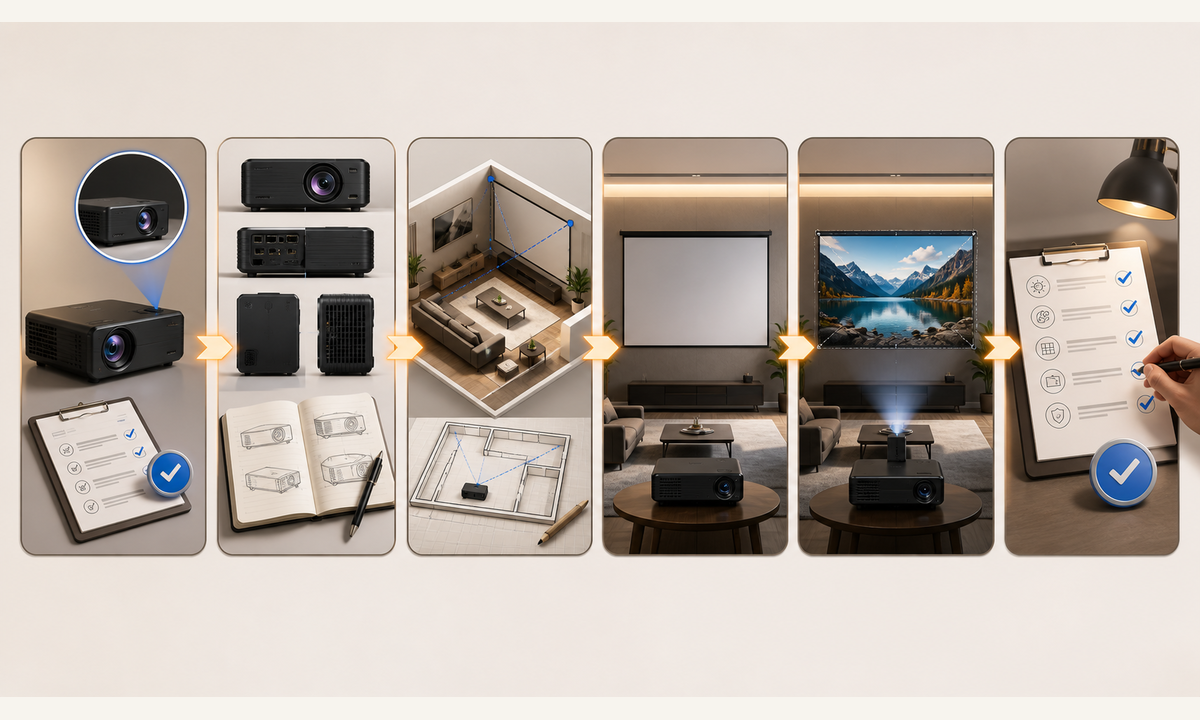
- Freeze the exact SKU, regional revision, dimensions, weight, optics, controls, ports, vents, stand states, power requirements, included accessories, compatibility, tested projection conditions, claims, and rights.
- Capture approved front, rear, sides, top, underside, lens, sensor, focus, controls, ports, vents, feet, hinge, remote, cables, packaging, scale, and verified installed views.
- Choose one scene with documented support, throw distance, projection angle, ventilation, cable routing, ambient light, seating context, and copy-safe zones.
- Generate a product-locked beauty plate with a blank screen first; inspect hardware geometry, stability, clearances, reflections, shadows, scale, and cable contact.
- If projected content is needed, composite an authorized real capture or controlled graphic and label conceptual screens; verify aspect ratio, keystone, focus, brightness context, rights, and UI state.
- Add exact specifications, compatibility, price, availability, disclosure, captions, and CTA in editable layers, then review retailer crops, localization, accessibility, and claims.
Example prompt variants
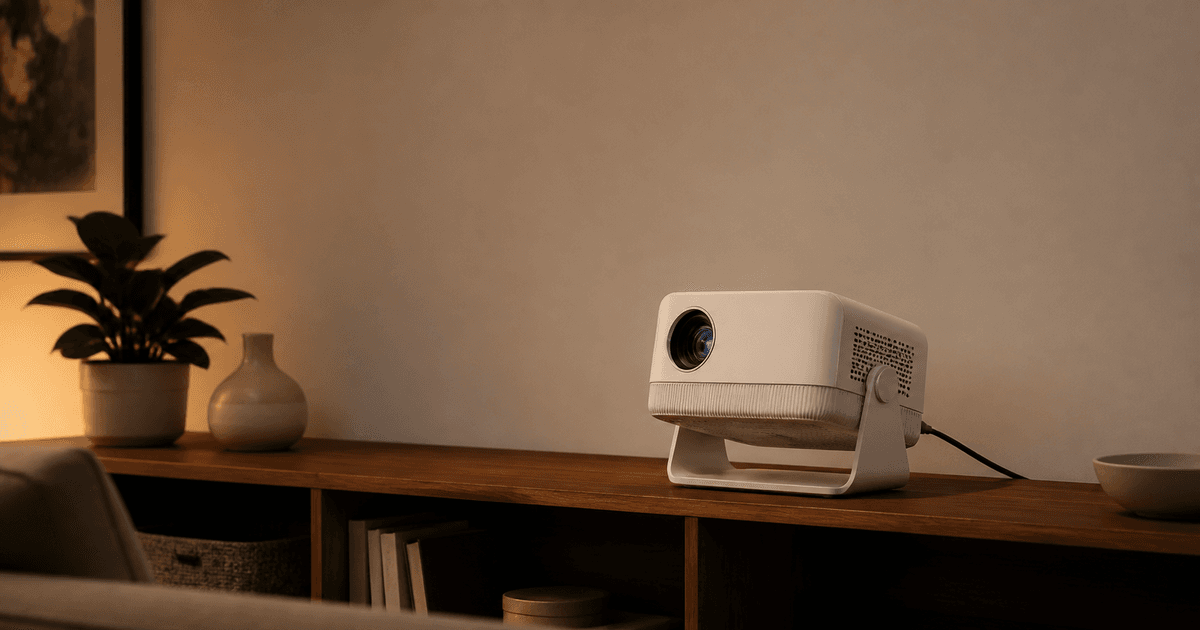
- Wide living-room hero using the exact approved cream compact projector on a documented low shelf, preserve lens, rear vents, tilt stand, power cable and scale, soft evening ambient light, blank wall composite zone.
- Square travel scene using the approved charcoal projector on a stable cabin table, preserve body, feet, ports, vent clearance and packed remote, daylight plate, no projection, campsite, battery-life or outdoor-rating claim.
- Vertical desk setup using the exact projector and approved hinged stand at the documented angle, preserve lens alignment, controls, cable exit and shadow, neutral blank screen zone, no fake app or wireless symbol.
Quality checklist
- SKU, revision, dimensions, body, lens, sensors, controls, speakers, vents, ports, feet, stand, remote, cables, finish, markings, and included parts match approved references.
- Support, throw distance, projection angle, ventilation, power, cable routing, ambient light, scale, contact shadows, and scene use are physically plausible.
- Any projection is an approved composite and does not exaggerate brightness, size, contrast, color, resolution, focus, keystone, latency, battery, connectivity, or compatibility.
- Specifications, UI, content rights, price, availability, claim qualifiers, disclosure, and CTA remain editable outside generated pixels.
- Reference set, scene map, prompts, outputs, hardware review, projection composite, claims review, approvals, and export remain traceable.
Mistakes to avoid
- Using one front packshot and letting the model invent the rear ports, vent pattern, stand, lens assembly, remote, or cable routing.
- Generating a huge bright projection in a fully lit room and treating it as proof of image size, lumens, contrast, or color performance.
- Blocking vents, floating the projector, omitting power, bending the stand past its real travel, or using an impossible throw geometry.
- Adding copyrighted films, streaming interfaces, compatibility badges, specifications, or wireless claims inside the generated scene.
Related AIBase pages
- Open Nano Banana Pro image editing
- Create laptop accessories campaign images
- Create countertop appliance campaign images
Practical next step
Open the most relevant AIBase generator, run one narrow prompt first, and save the best result before adding more constraints. The fastest way to improve output quality is to compare one variable at a time: subject, camera, background, lighting, then final polish.