
Nano Banana Pro Countertop Appliance Campaign Prompts That Preserve Controls
Build premium countertop appliance campaign scenes while preserving approved product geometry, controls, materials, vents, cords, labels, and safety details.
Quick answer
Treat the approved appliance packshot and technical drawing as product truth. Lock the enclosure, openings, controls, indicators, handle, lid, cord, feet, finish, warnings, and operating state before changing the kitchen environment. For hero images, generate or edit the scene, then composite the original product whenever a control or safety detail drifts.
Who this guide is for
Small-appliance brands, retailers, launch teams, agencies, and ecommerce studios creating campaign images for kettles, blenders, coffee machines, air fryers, mixers, toasters, and other countertop products.
Recommended model
| Use case | Recommended model | Why |
|---|---|---|
| This workflow | Nano Banana Pro image-to-image | A higher-fidelity edit pass can explore refined materials and environments, but exact control layouts, safety details, and operational claims still need source comparison and often controlled compositing. |
AIBase is an independent creative platform. Model names are shown only to identify supported underlying technologies and workflow choices.
Prompt template
Use the uploaded authorized [appliance] packshot and technical reference as exact product truth. Preserve enclosure silhouette, dimensions, seams, openings, vents, feet, lid, handle, spout, blade or basket visibility, control count, control positions, icons, indicator state, display shape, cord exit, plug, logo placement, labels, warnings, color, finish, reflections, and operating state. Place the unchanged product in [kitchen scene] on a level heat-safe counter with [one supporting prop group], [lighting], and [camera/framing]. Keep required clearance around [vents/steam path/door]. No redesigned control panel, extra button, fake display text, changed capacity, impossible output, hidden cord without explanation, blocked vent, unsafe water or heat, unsupported claim, generated logo, headline, watermark, or extra appliance.
Step-by-step workflow
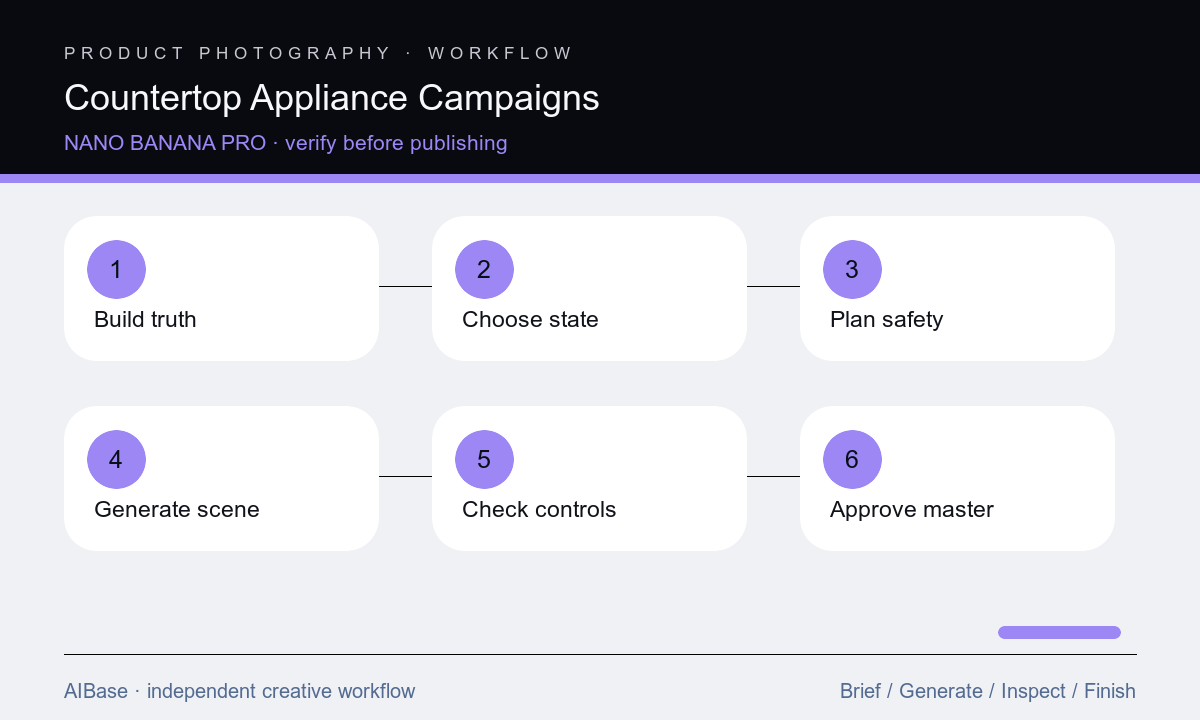
- Create a product truth sheet from approved packshots, dimension views, control diagrams, finish samples, cord details, warnings, clearance rules, and permitted operating states.
- Choose one campaign job and one state: clean hero, morning-use context, ingredient setup, or post-use serving moment; do not combine a full demo sequence into one still.
- Plan a physically safe scene with a level counter, plausible outlet and cord route, ventilation or steam clearance, controlled props, and room for campaign copy.
- Run image-to-image with every structural and safety lock stated before the environment, then generate only a small set of camera or lighting variants.
- Overlay the result and source to inspect silhouette, seams, controls, icons, handle, openings, cord, reflections, contact shadow, and any implied appliance function.
- Composite the approved packshot when exactness is uncertain, add copy as editable type, and route the final through product, safety, legal, brand, and channel review.
Example prompt variants
- Premium three-quarter campaign image of the exact approved matte-black electric kettle on pale stone, preserve spout, lid seam, handle, base, switch, indicator, cord exit, finish, logo placement, and off state; soft morning side light, one cup only.
- Exact approved countertop blender in a bright home-kitchen scene, preserve jar shape, blade assembly, lid, control count and positions, vents, base proportions, cord, finish, and empty off state; three-quarter crop with fruit props behind, not inside.
- Exact approved air fryer on a dark editorial counter, preserve drawer geometry, handle, display panel shape, buttons, vents, feet, cord route, finish, and closed off state; restrained side light, safe rear clearance, no food floating or steam.
Quality checklist
- Product silhouette, dimensions, seams, openings, handles, lids, controls, indicators, icons, vents, feet, cord, plug, labels, and finish match current approved references.
- The depicted state is physically coherent and does not imply an unapproved capacity, feature, output, temperature, speed, or hands-free behavior.
- Counter support, contact shadow, reflections, outlet logic, cord route, vent clearance, steam path, water, heat, and props are plausible and safe.
- Logo, headline, specifications, price, certifications, warranty, claims, and legal copy are controlled layers and match the destination page.
- Source files, prompts, model outputs, composites, approvals, crops, accessibility text, and withdrawal instructions remain traceable.
Mistakes to avoid
- Describing a generic coffee machine or blender and assuming the result represents the actual SKU.
- Letting a visually polished scene add buttons, move vents, hide the cord, change the indicator state, or invent display text.
- Showing boiling water, exposed blades, blocked exhaust, unstable placement, or another unsafe setup for visual drama.
- Publishing the generated product directly when a source packshot composite would preserve controls and safety details exactly.
Related AIBase pages
- Open Nano Banana Pro image-to-image
- Create laptop accessory campaigns
- Build product bundle photos
- Animate electronics product demos
Practical next step
Open the most relevant AIBase generator, run one narrow prompt first, and save the best result before adding more constraints. The fastest way to improve output quality is to compare one variable at a time: subject, camera, background, lighting, then final polish.