
Nano Banana Pro Eyewear Campaign Product Photo Prompts
Create eyewear campaign concepts with Nano Banana Pro while preserving frame geometry, lens tint, hinges, temples, finish, reflections, fit truth, and approved product references.
Quick answer
Build an eyewear truth sheet from front, three-quarter, side, folded, hinge, temple-tip, and lens references. Lock bridge width, lens shape, rim thickness, hinge position, temple angle, finish, tint, and markings before describing the set; use a verified packshot composite when reflections or a new camera angle make the exact SKU uncertain.
Who this guide is for
Eyewear brands, optical retailers, fashion marketers, ecommerce studios, and agencies creating sunglasses launches, optical-frame banners, material stories, and social campaign directions.
Recommended model
| Use case | Recommended model | Why |
|---|---|---|
| This workflow | Nano Banana Pro image-to-image | Reference-led generation is useful for exploring premium surfaces and controlled reflections, while an explicit geometry checklist helps constrain small but identity-defining frame details. |
AIBase is an independent creative platform. Model names are shown only to identify supported underlying technologies and workflow choices.
Prompt template
Use the uploaded authorized eyewear references as exact product truth. Create a [studio/lifestyle/material] campaign concept on [surface or scene], viewed from [supported camera angle], [crop], with [lighting]. Preserve exact lens outline and curvature, rim thickness, frame width and height, bridge type and width, nose pads, hinge position, screw count, temple thickness and bend, temple-tip shape, front-to-side angle, bevels, finish, material translucency, lens tint and gradient, coating behavior, logo placement, markings, colorway, and wear state. Keep both sides symmetric only where the real product is symmetric and make reflections physically plausible. Do not widen, narrow, fold, unfold, mirror, redesign, add or remove hardware, change prescription appearance, darken the lens, invent markings, place on a face, add text, or claim protection features.
Step-by-step workflow
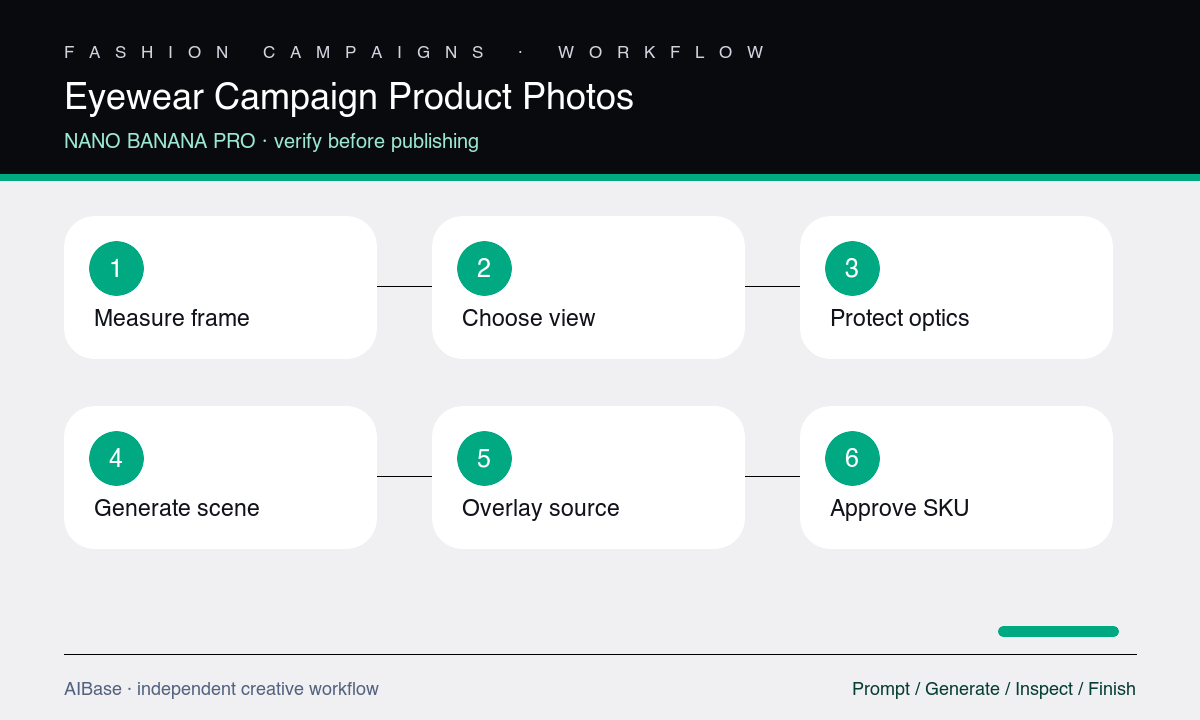
- Collect approved multi-angle references and measure lens, bridge, frame, temple, hinge, nose-pad, finish, tint, logo, and folded-state details for the exact SKU.
- Choose a camera view supported by those references and decide whether the job is silhouette, material, lens, hardware, or full-product storytelling.
- Prompt the protected geometry and optical properties before the set, requesting a simple surface and restrained reflection pattern for the first pass.
- Overlay the output with the matching reference and compare lens outline, bridge, rims, hinges, temple angle, symmetry, tint, finish, logos, and repeated hardware.
- Add the final scene only after geometry passes, then inspect refraction, transparency, reflections, contact points, shadows, edge highlights, and crop.
- Composite an approved packshot for exact-SKU commerce, keep all protection or prescription claims outside generated pixels, and obtain product-team approval.
Example prompt variants
- Approved translucent amber optical frame on a matte cream arc, front three-quarter view, soft backlight through the real acetate, preserve exact rounded-square lenses, keyhole bridge, rim thickness, hinges, temples, tintless lenses, logo, and colorway.
- Black metal sunglasses on dark stone under one narrow rim light, supported side profile, preserve exact aviator lens shape, double bridge, nose pads, hinge screws, temple bend, gray lens gradient, coating, and proportions.
- Macro campaign crop of the approved hinge and temple junction, grazing light on verified brushed titanium, preserve screw count, bevel, engraving zone, temple thickness, lens edge, finish, and no invented text.
Quality checklist
- Lens shapes, rim thickness, frame dimensions, bridge, nose pads, hinges, screws, temples, tips, bevels, and folded or open state match approved references.
- Material, translucency, metal finish, colorway, lens tint, gradient, coating response, logos, markings, and wear state remain SKU-accurate.
- Reflections, refraction, shadows, symmetry, perspective, support, and contact read physically without hiding identity-defining construction.
- No prescription, UV protection, polarization, impact, fit, sustainability, or material claim is implied beyond approved product information.
- The final commerce asset uses verified product pixels or passes a geometry overlay and named product-owner approval.
Mistakes to avoid
- Using one front photo to request a folded or extreme side view that requires the model to invent hinges, temples, and tips.
- Calling for a more fashionable or premium shape and accidentally changing lens geometry, bridge width, rim weight, or fit.
- Using dramatic reflections that conceal the lens edge, coating, tint, logo, or repeated hardware needed for SKU verification.
- Letting generated visuals imply polarization, prescription, protection, lightweight construction, or face fit without approved evidence.
Related AIBase pages
- Open Nano Banana Pro image-to-image
- Create luxury watch campaign concepts
- Create jewelry product photos
- Compare Nano Banana Pro and GPT Image 2
Practical next step
Open the most relevant AIBase generator, run one narrow prompt first, and save the best result before adding more constraints. The fastest way to improve output quality is to compare one variable at a time: subject, camera, background, lighting, then final polish.