
Veo 3.1 Pro Real Estate Video Prompts for Cinematic Walkthrough Shots
Plan polished real estate walkthrough shots with Veo 3.1 Pro using room geometry, camera paths, natural light, continuity, and property-accuracy checks.
Quick answer
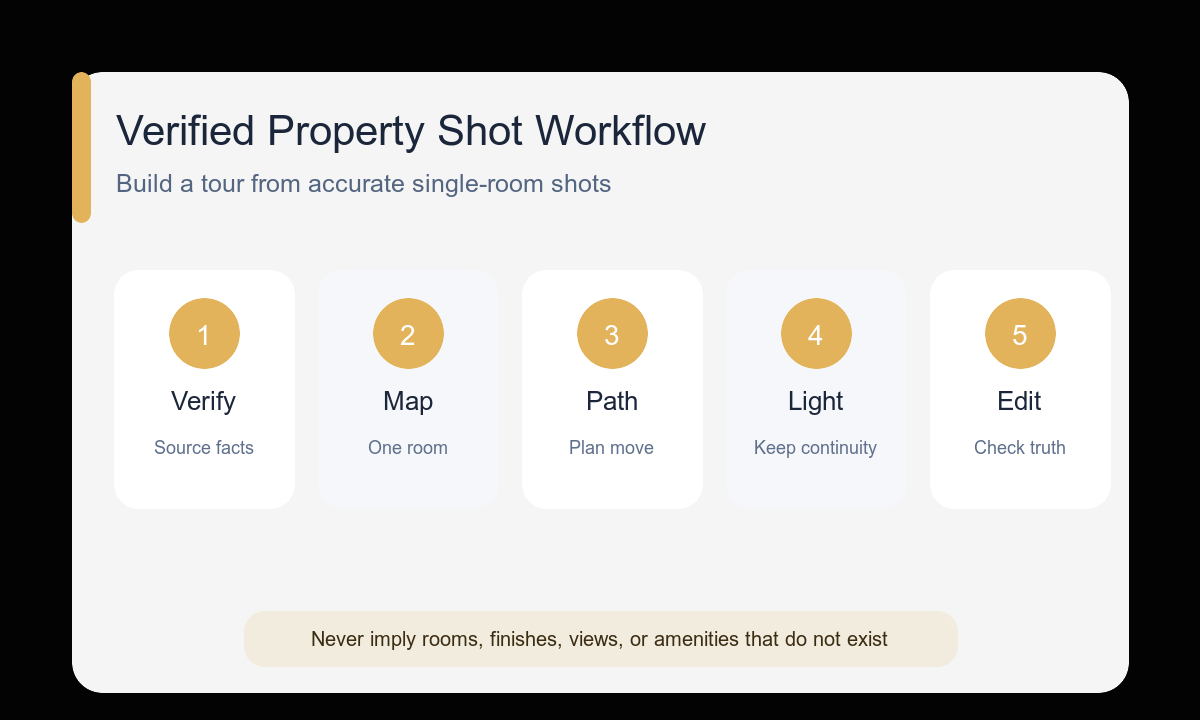
Treat a property video as a sequence of verified single-room shots, not one invented continuous tour. Define the real room geometry, one slow camera path, natural light direction, a start and end frame, and continuity notes; never let generated footage imply features the property does not have.
Who this guide is for
Real estate marketers, architects, hospitality teams, and developers creating concept films, previsualization, or mood-led property content with an accuracy review.
Recommended model
| Use case | Recommended model | Why |
|---|---|---|
| This workflow | Veo 3.1 Pro | Use the polished video workflow after the shot list and camera direction are established, particularly when materials, controlled movement, and cinematic continuity matter. |
AIBase is an independent creative platform. Model names are shown only to identify supported underlying technologies and workflow choices.
Prompt template
Create one cinematic real estate shot of the verified [room or exterior]. Preserve the supplied property facts: [layout, openings, materials, view]. Start frame: [composition]. Camera path: [one slow dolly, track, tilt, or push] at [height and pace]. Natural light: [time, window direction, weather]. Emphasize [real feature]. End frame: [composition for edit]. Keep walls, windows, doors, furniture count, and exterior view consistent. No invented rooms, expanded dimensions, added amenities, impossible reflections, people, readable signage, or sudden cuts.
Step-by-step workflow
- Build a verified shot list from real photos, plans, renders, and property notes.
- Map each shot to one room and one genuine feature rather than generating a whole tour at once.
- Storyboard the camera height, path, start frame, and edit-friendly ending frame.
- Keep time of day, materials, furnishings, and screen direction in a continuity block.
- Prototype difficult paths before generating the selected polished shot.
- Compare every clip to the source property and label conceptual imagery clearly where required.
Example prompt variants
- Verified living room with floor-to-ceiling west windows and oak flooring; slow eye-level dolly from entry toward the windows; late-afternoon side light; emphasize the real terrace connection; end wide with doorway visible.
- Verified compact kitchen with one stone island and matte oak cabinets; slow lateral track at counter height; neutral morning light from the existing left window; end centered on the island; no added appliances or storage.
- Verified hotel courtyard with a rectangular reflecting pool and arched colonnade; slow forward push along the existing path; soft dawn light; preserve column count and pool shape; end on the real lobby entrance.
Quality checklist
- Every visible architectural feature is supported by source material.
- Camera speed and height feel physically achievable in the real space.
- Room proportions, openings, materials, and views stay consistent.
- Adjacent clips share compatible light, palette, furniture, and screen direction.
- Conceptual or generated footage is not presented as documentary proof of a listing.
Mistakes to avoid
- Asking for one continuous tour through several rooms and allowing layout invention.
- Using cinematic as a substitute for a camera path and lighting plan.
- Adding a pool, larger windows, premium finishes, or views that are not present.
- Publishing generated property imagery without an accuracy and disclosure review.
Related AIBase pages
- Create polished property shots with Veo 3.1 Pro
- Use the Veo 3.1 Pro cinematic workflow
- Prototype shots with Veo 3.1 Fast
Practical next step
Open the most relevant AIBase generator, run one narrow prompt first, and save the best result before adding more constraints. The fastest way to improve output quality is to compare one variable at a time: subject, camera, background, lighting, then final polish.