
Nano Banana 2 Prompts to Clean Acrylic Product Stands Without Losing Reflections
Remove dust and fingerprints from acrylic ecommerce risers while preserving transparent edges, real reflections, contact shadows, and product geometry.
Quick answer
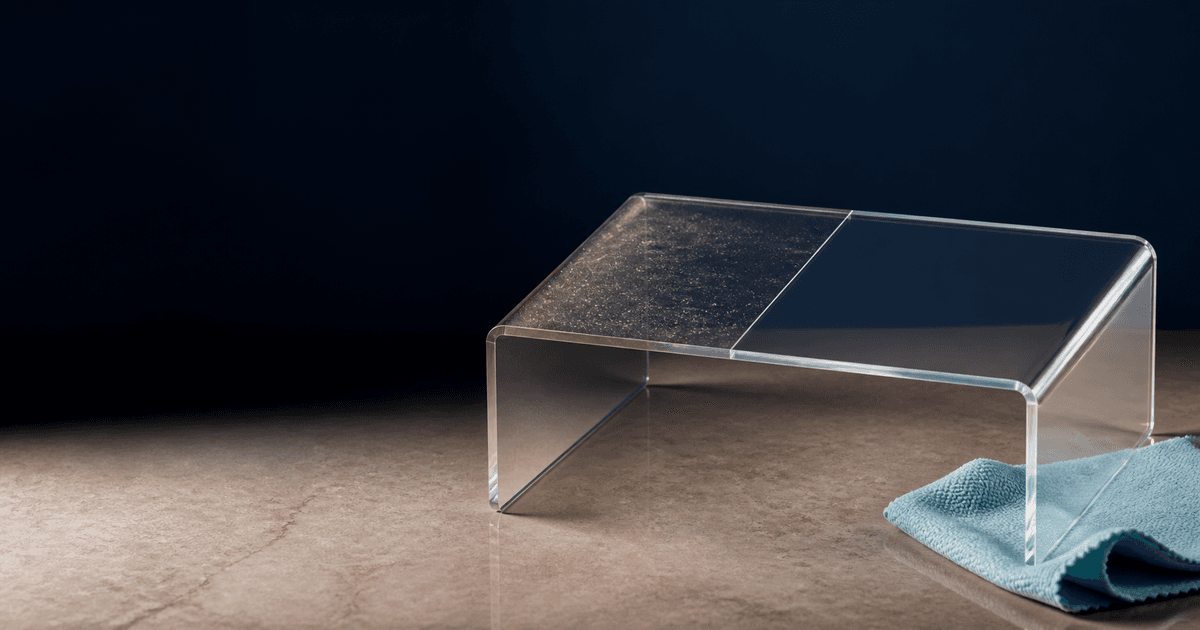
Upload the highest-resolution authorized packshot, mark only the dust, smudge, or fingerprint zones, and explicitly protect every acrylic edge, refraction, highlight, reflection, contact shadow, and the product resting on the stand. Generate small corrections in separate passes. Acrylic that becomes invisible, opaque, perfectly reflection-free, or geometrically cleaner than the real setup is not an accurate edit.
Who this guide is for
Ecommerce retouchers, jewelry and cosmetics studios, marketplace sellers, and creative teams cleaning transparent risers in approved product photography.
Recommended model
| Use case | Recommended model | Why |
|---|---|---|
| This workflow | Nano Banana 2 image-to-image for localized acrylic cleanup | A narrow edit prompt can remove transient contamination while the source image remains the authority for transparent geometry and studio light. |
AIBase is an independent creative platform. Model names are shown only to identify supported underlying technologies and workflow choices.
Prompt template
Use the uploaded authorized product photo as the exact source. Remove only [identified dust / fingerprint / wipe streak] from [precise acrylic surface zone]. Preserve product SKU, silhouette, label, placement, acrylic thickness, bends, seams, edge highlights, refraction, internal reflections, background visibility, contact points, shadows, camera, crop, color, and light. Keep natural micro-imperfections outside the marked zone. No new stand, missing edge, opaque plastic, invented product detail, text change, logo change, watermark, or global beauty retouch.
Step-by-step workflow
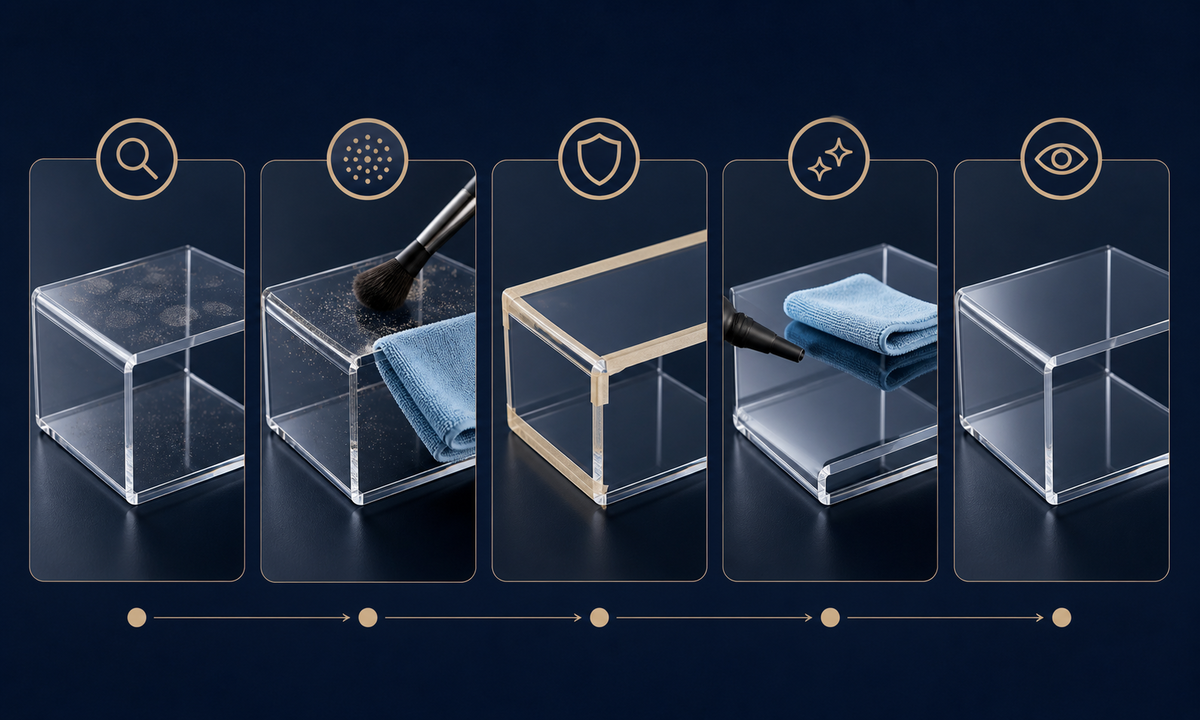
- Confirm the image, product, and retouch rights; archive an untouched source and approved product reference.
- Inspect at high zoom and distinguish removable contamination from real scratches, bubbles, seams, edge highlights, and reflections.
- Mask one continuous cleanup zone and write all protected acrylic and product anchors before the edit instruction.
- Generate dust, fingerprint, and streak corrections as separate passes instead of requesting a globally perfect stand.
- Compare source and result at full frame and pixel level for disappearing edges, false transparency, bent products, doubled reflections, and floating shadows.
- Export a reversible master, document the cleaned zones, and obtain merchandising approval before replacing catalog imagery.
Example prompt variants
- Remove only three visible fingerprints from the front vertical face of the clear acrylic riser; preserve both vertical edges, top bend, bottle reflection, background refraction and contact shadow.
- Clean only the scattered dust on the top plate beneath the approved ring box; keep acrylic thickness, corner highlight, product position, velvet texture and every real scratch unchanged.
- Reduce only the narrow wipe streak behind the skincare jar; preserve the subtle blue edge reflection, jar label zone, glass silhouette, stone surface and softbox geometry.
Quality checklist
- The exact product, placement, crop, color, label zones, and sellable details match the source.
- Every acrylic edge, bend, thickness cue, refraction, highlight, and contact shadow remains physically coherent.
- Only documented contamination changed; real wear or construction was not silently erased.
- No product appears to float, merge into the stand, or show invented reflections through transparent surfaces.
- Source, masks, prompts, comparisons, reviewer, and export remain traceable.
Mistakes to avoid
- Asking to make the acrylic perfect and losing the optical cues that make it visible.
- Removing a real edge highlight because it looks like a streak.
- Cleaning the entire frame and accidentally changing product labels, jewelry, or packaging.
- Publishing a retouch that hides material damage or alters what the buyer receives.
Related AIBase pages
Practical next step
Open the most relevant AIBase generator, run one narrow prompt first, and save the best result before adding more constraints. The fastest way to improve output quality is to compare one variable at a time: subject, camera, background, lighting, then final polish.