
Nano Banana 2 Remove Object from Photo Prompt and Workflow
Remove a distracting object with Nano Banana 2 while preserving the subject, background structure, lighting, texture, and original crop.
Quick answer
Upload the cleanest original, identify one object to remove, and describe the surfaces that should continue behind it. Protect every nearby subject and structural line, then check the repaired area at full size for repeated texture, bent edges, or lighting breaks.
Who this guide is for
Product sellers, real-estate teams, photographers, and social creators removing cables, small props, reflections, background people, or other isolated distractions from an otherwise usable image.
Recommended model
| Use case | Recommended model | Why |
|---|---|---|
| This workflow | Nano Banana 2 in image-to-image mode | The reference-led workflow makes the source photo the composition anchor while the prompt limits the edit to one unwanted element and its immediate background. |
AIBase is an independent creative platform. Model names are shown only to identify supported underlying technologies and workflow choices.
Prompt template
Use the uploaded photo as the source. Remove only [object and precise location]. Keep [main subject], [nearby objects], [camera angle], [crop], [lighting], and [colors] unchanged. Reconstruct the hidden area as [expected wall/floor/fabric/sky texture], continuing the existing lines, grain, reflections, shadows, and depth. Do not redesign the scene, move objects, change identity, add new details, or alter image dimensions.
Step-by-step workflow
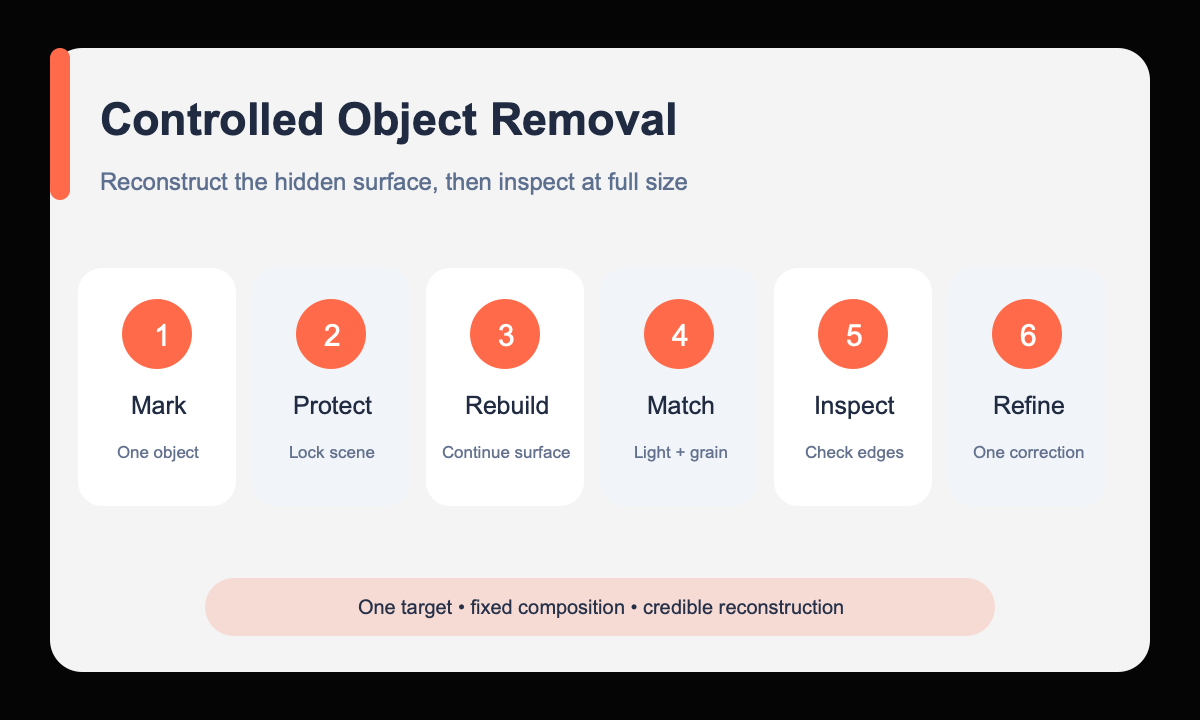
- Choose the highest-resolution source and confirm the unwanted object does not cover an irreplaceable subject detail.
- Name the object by appearance and location instead of using a vague instruction such as clean up the image.
- List the subjects, edges, text, and composition features that must remain fixed.
- Describe what logically continues behind the object, including material, direction, texture, and light.
- Run one removal at a time before attempting color, crop, or background changes.
- Inspect the repaired region and its boundary at full size, then request one narrow correction if needed.
Example prompt variants
- Remove only the black charging cable crossing the lower-right oak desk; continue the straight wood grain and warm window reflection; keep the laptop, mug, crop, and shadows unchanged.
- Remove only the distant person beside the left doorway; rebuild the pale plaster wall and baseboard with matching perspective; preserve the room geometry, furniture, and daylight.
- Remove only the price card in front of the ceramic jar; reconstruct the linen surface and soft contact shadow behind it; keep the jar silhouette, glaze, label, and camera angle exact.
Quality checklist
- Only the named object disappeared and no nearby subject moved or changed.
- Lines, patterns, grain, and perspective continue naturally through the repaired area.
- Light direction, shadow softness, reflection, and noise match the source.
- Faces, hands, labels, product geometry, and crop remain faithful to the original.
- The repair still looks credible at 100 percent zoom, not only as a thumbnail.
Mistakes to avoid
- Asking to remove several unrelated objects in the first pass.
- Failing to describe the surface hidden behind the unwanted object.
- Using broad cleanup language that permits the whole scene to be redesigned.
- Approving a smooth patch that breaks a baseboard, horizon, tile line, or reflection.
Related AIBase pages
- Remove an object with Nano Banana 2
- Use controlled image-to-image prompts
- Change a background while keeping the subject
Practical next step
Open the most relevant AIBase generator, run one narrow prompt first, and save the best result before adding more constraints. The fastest way to improve output quality is to compare one variable at a time: subject, camera, background, lighting, then final polish.