
Nano Banana 2 Prompts to Remove a Protective Film Edge From Electronics Photos
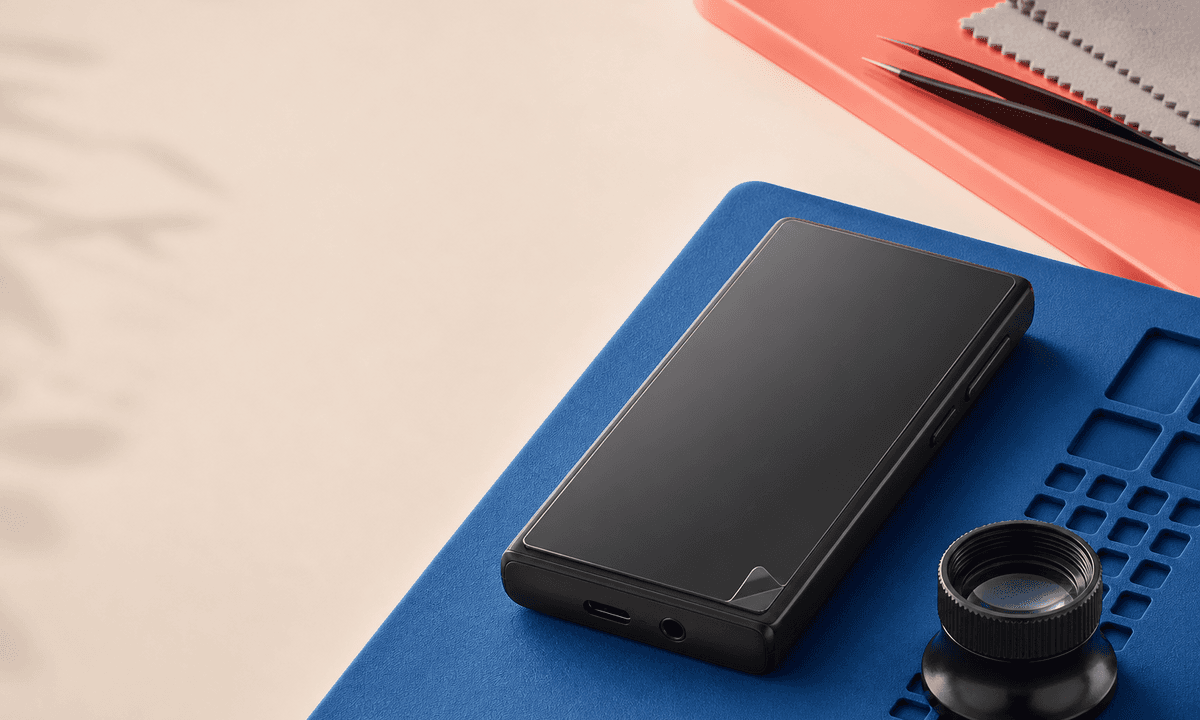
Remove one shipping-film edge from an electronics photo while preserving the screen, bezel, finish, ports, seams, reflections, and honest product condition.
Quick answer
First confirm that the visible edge belongs to temporary shipping or studio protection that should not appear in the final listing. Mark only that tab or lifted edge, then ask Nano Banana 2 to reconstruct the tiny covered area from an approved clean reference while locking the screen plane, bezel width, corner radius, ports, buttons, seams, coating, reflections, shadows, crop, and every sign of real condition. If the film ships with the product, hides damage, crosses a display boundary, or covers a detail that is not documented elsewhere, reshoot instead of inventing the surface.
Who this guide is for
Electronics brands, refurbishers, marketplace sellers, product studios, and catalog retouchers cleaning an authorized phone, tablet, display, audio device, controller, or accessory image after a protective film was left partly visible during the shoot.
Recommended model
| Use case | Recommended model | Why |
|---|---|---|
| This workflow | Nano Banana 2 image-to-image for one localized film-edge cleanup | A small, explicitly bounded edit can remove a temporary presentation artifact while the source and a clean reference remain authoritative for product geometry, finish, reflections, and condition. |
AIBase is an independent creative platform. Model names are shown only to identify supported underlying technologies and workflow choices.
Prompt template
Edit the uploaded authorized [exact product, color and view]. Remove only the marked temporary protective-film [tab / lifted edge / trapped corner] at [precise location]. Reconstruct the newly exposed area from the approved clean reference. Preserve exact screen plane, bezel width, corner radius, frame, coating, texture, ports, buttons, seams, vents, camera modules, fasteners, labels, color, reflections, shadows, crop, background and all unmarked condition. No screen replacement, scratch removal, dent repair, edge straightening, port change, logo change, UI, word, number or watermark.
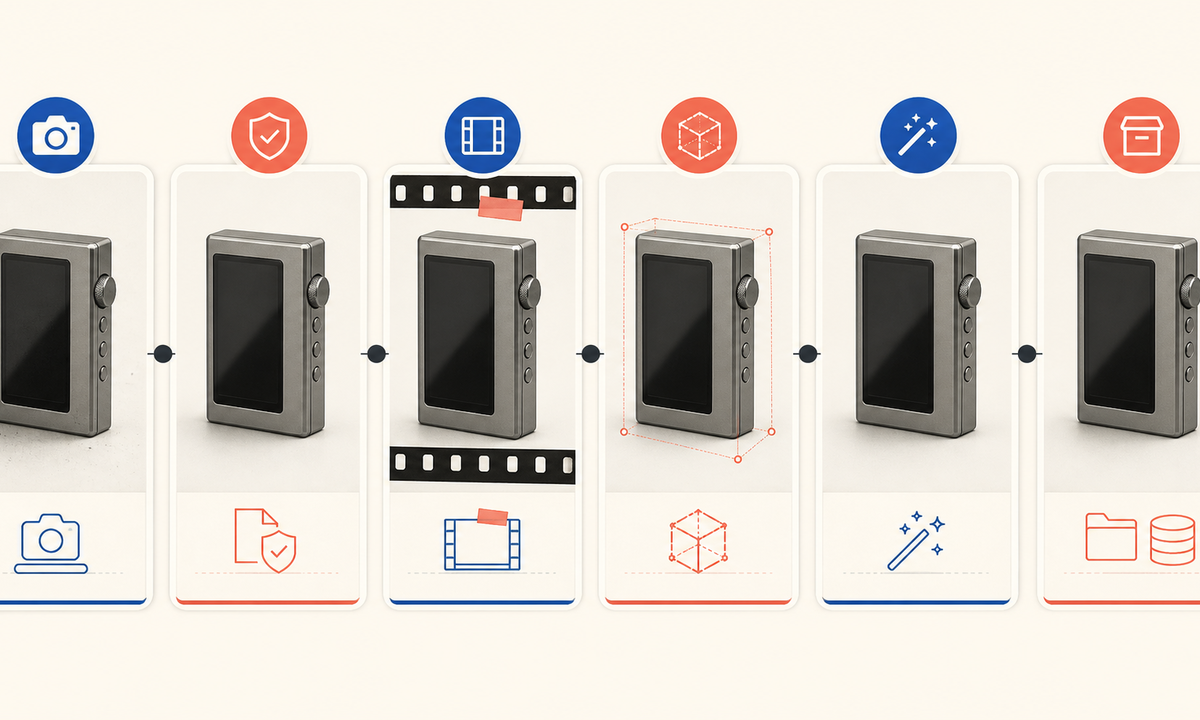
Step-by-step workflow
- Confirm the exact SKU, color, finish, sample condition, channel, image rights, and whether the target is removable protective film rather than a functional layer or included accessory.
- Retain an untouched master and collect a clean authorized angle that shows the hidden screen, frame, texture, coating, reflection, seam, or label detail.
- Draw a tight mask around one approved film edge and map protected corners, bezel lines, ports, buttons, gaps, reflections, shadows, dust, scratches, dents, and condition evidence.
- Run one localized edit. Reject any result that smooths the whole product, changes display proportions, moves a port, repairs wear, or invents a hidden surface.
- Compare source and result at full resolution, at listing thumbnail size, and against alternate views for edge continuity, repeated texture, reflection drift, halos, and false cleanliness.
- Export the smallest approved correction and retain the source, clean reference, mask, prompt, reviewer, condition decision, and rollback file.
Example prompt variants
- Remove only the clear pull tab lifted from the lower-right corner of the authorized black media player screen; preserve bezel, corner radius, frame seam, ports, dust, reflection and table shadow.
- Remove one narrow shipping-film edge from the approved tablet back panel using the clean side reference; preserve matte coating, camera island, antenna line, buttons, color and all unmarked wear.
- Catalog accessory image: remove only the marked transparent film curl from the charging-case lid, preserve hinge gap, indicator opening, case texture, seam, highlight and documented condition.
Quality checklist
- SKU, color, materials, geometry, screen or panel boundaries, ports, controls, seams, labels, finish, and condition match the authorized source set.
- Only the documented temporary film edge changed; scratches, dents, dust, wear, included films, coatings, and functional layers remain honest.
- The reconstructed patch has continuous texture, reflection, light direction, edge sharpness, grain, and shadow without cloning or smoothing artifacts.
- The edit does not imply a new screen, repaired damage, sealed condition, water resistance, unused status, included accessory, or another unsupported product fact.
- Source, reference, mask, prompt, output, product review, condition decision, approval, export, and rollback remain traceable.
Mistakes to avoid
- Using a global cleanup prompt that also erases wear, dust, scratches, ports, seams, or coating texture.
- Treating every transparent edge as shipping film without checking whether it is a functional screen layer or included protector.
- Guessing the covered surface when no clean angle documents its texture, reflection, boundary, or condition.
- Publishing a polished edit that makes a refurbished or used device appear newer than its disclosed condition.
Related AIBase pages
Practical next step
Open the most relevant AIBase generator, run one narrow prompt first, and save the best result before adding more constraints. The fastest way to improve output quality is to compare one variable at a time: subject, camera, background, lighting, then final polish.