
Seedance 2.0 Electronics Product Demo Video Prompts from a Pack Shot
Animate electronics pack shots with Seedance 2.0 prompts that preserve hardware, show one verified interaction, control hands and camera, and create editable demo clips.
Quick answer
Use one sharp authorized product image, one verified user interaction, and one restrained camera move per shot. Lock ports, buttons, seams, screens, labels, accessories, hand path, contact points, and end state; then add real interface footage, feature copy, sound, and compliance details in post.
Who this guide is for
Consumer-electronics brands, ecommerce teams, crowdfunding creators, agencies, product marketers, and editors building short demos for headphones, chargers, keyboards, cameras, wearables, smart-home devices, and desk accessories.
Recommended model
| Use case | Recommended model | Why |
|---|---|---|
| This workflow | Seedance 2.0 image-to-video | A reference-led animation workflow fits product demos where approved hardware appearance should anchor a narrow motion such as opening, attaching, rotating, pressing, placing, or charging. |
AIBase is an independent creative platform. Model names are shown only to identify supported underlying technologies and workflow choices.
Prompt template
Use the uploaded authorized electronics pack shot as the exact first-frame and hardware reference. Preserve product dimensions, silhouette, ports, buttons, seams, vents, hinge, materials, color, labels, screen bezel, cable, accessories, desk layout, lighting, and crop. In a [duration] [ratio] shot, [one hand or product action] at [controlled pace]; contact occurs only at [verified point], the device responds only with [verified physical response], and it ends in [clean state]. Camera: [locked/subtle move]. No new port, button, light, screen content, cable, accessory, feature, logo, text, spark, magnetic behavior, impossible hinge, finger fusion, extra product, or watermark.
Step-by-step workflow
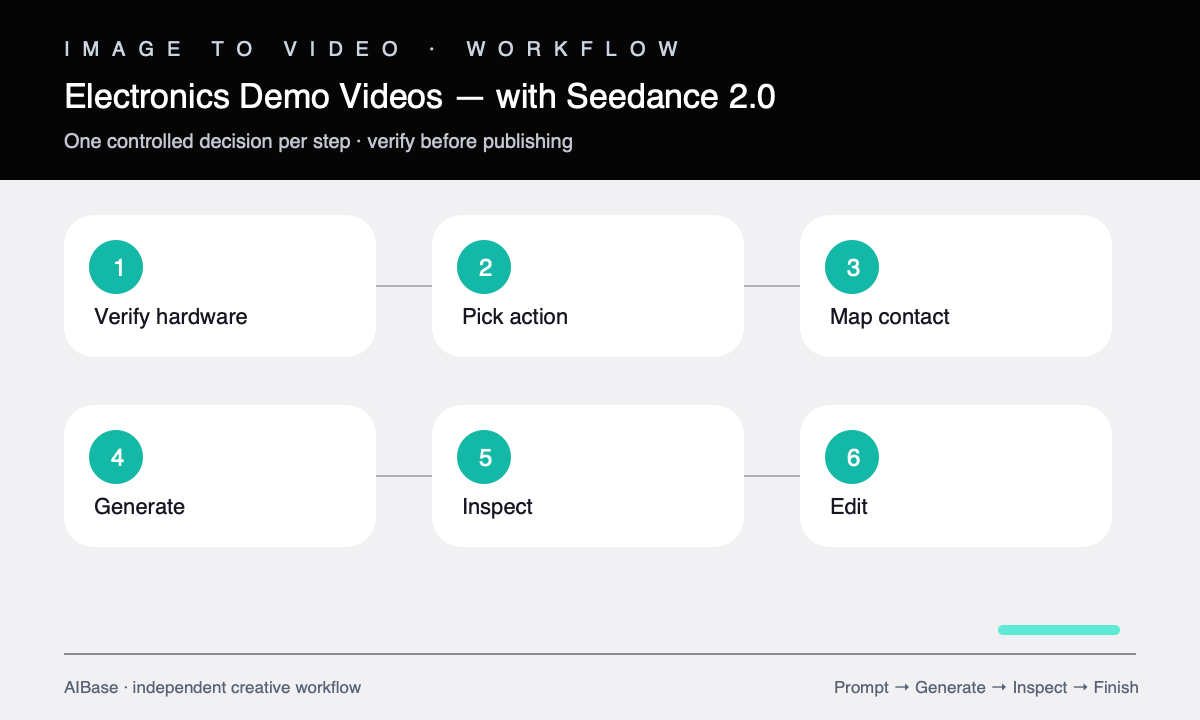
- Prepare an authorized high-resolution reference and a hardware-truth sheet covering dimensions, controls, ports, articulation, accessories, materials, and verified responses.
- Break the demo into atomic shots, with one interaction such as attach, open, press, place, rotate, plug in, or remove.
- Storyboard first frame, hand entry, contact point, motion path, device response, camera behavior, and clean last frame.
- Generate the safest shot first with a locked camera; add a subtle push or arc only after hardware and hand contact remain stable.
- Review frame by frame for geometry drift, phantom ports, finger fusion, cable continuity, screen mutation, impossible movement, reflections, and unsafe use.
- Composite real UI capture, LED behavior, copy, claims, pricing, audio, and CTA in post, and use product footage for any proof-critical interaction.
Example prompt variants
- Six-second 16:9 wireless-earbud case demo from an approved open-case photo; one hand lifts only the right earbud by its stem, hinge and left earbud remain fixed, locked camera, soft desk light, clean ending with earbud above case.
- Five-second square charging-hub demo; approved hub remains fixed while one USB-C cable enters from right and connects to the verified front port, no lights activate, subtle push-in, preserve every port and label zone.
- Six-second vertical mechanical-keyboard shot; one finger presses a single key once and releases, realistic key travel only, keyboard and other keys stable, shallow camera slide, no screen, light effect, or feature claim.
Quality checklist
- Product silhouette, controls, ports, seams, hinge, screen, cables, accessories, labels, materials, color, and scale match the approved reference.
- The hand has plausible anatomy, enters from a reachable angle, touches the correct point, and never passes through hardware.
- The interaction follows verified mechanics and does not invent magnetism, articulation, lighting, screens, or automatic responses.
- Camera, background, reflections, product position, and nonmoving components remain stable through the shot.
- The clip begins and ends cleanly, supports the planned edit, and leaves verified UI, copy, claims, audio, and CTA for postproduction.
Mistakes to avoid
- Trying to demonstrate setup, use, interface, benefit, and result in one generated shot.
- Allowing a generic prompt to invent ports, indicator lights, screen content, accessories, or product behavior.
- Adding complex camera motion before confirming that hands and hardware contact remain stable.
- Using generated motion as proof of a feature instead of compositing verified footage or clearly labeling a concept.
Related AIBase pages
Practical next step
Open the most relevant AIBase generator, run one narrow prompt first, and save the best result before adding more constraints. The fastest way to improve output quality is to compare one variable at a time: subject, camera, background, lighting, then final polish.