
Seedance 2 Leather Edge Burnishing Process Video Prompts
Animate one source-led leather edge burnishing action while preserving the real piece, grain, layers, tool contact, hands, finish, workshop, and maker evidence.
Quick answer
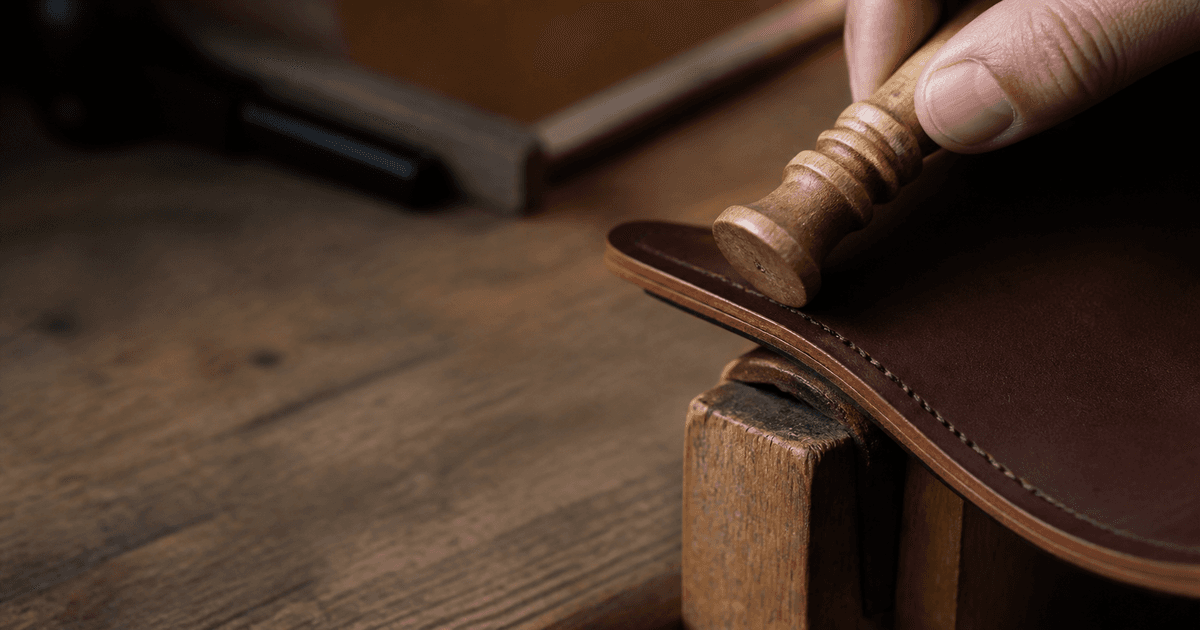
Start with an authorized macro photo where the exact leather edge, layers, slicker or cloth, hand grip, support, compound state, and contact point are visible. Animate one short documented burnishing pass and stop. Lock the leather profile, stitch line, holes, grain, dye, edge color, tool groove, fingers, bench, scraps, camera, and light. Do not invent a complete finishing sequence, transform a rough edge into a perfect result, add heat or chemicals, or present synthetic motion as proof of material, durability, handcraft, or workshop practice.
Who this guide is for
Leatherworkers, bag and wallet makers, craft educators, repair studios, material brands, and social editors creating restrained process inserts from their own workshop photography.
Recommended model
| Use case | Recommended model | Why |
|---|---|---|
| This workflow | Seedance 2 image-to-video for one visible leather edge burnishing pass | A strong source frame plus one contact-bound action can create a useful illustrative insert while real footage remains authoritative for technique and finished quality. |
AIBase is an independent creative platform. Model names are shown only to identify supported underlying technologies and workflow choices.
Prompt template
Animate the uploaded authorized leatherworking photo as the exact first frame. Preserve leather piece shape, thickness and layers, grain, color, edge dye or compound already visible, stitch line and spacing, holes, bevel, existing edge condition, support surface, slicker or cloth shape, groove, grip, hands, fingers, sleeves, tools, scraps, camera, crop, light, reflections, and shadows. Motion only: [tool or cloth] makes one short burnishing pass along [visible edge and direction] for [3-5 seconds], maintains continuous plausible contact, then stops. No extra hand, tool, compound, heat, smoke, color change, edge transformation, new stitch, cut, logo, word, sound, or watermark.
Step-by-step workflow
- Confirm photographer and maker rights, leather type, piece stage, edge method, compound, tool, safe setup, disclosure, and whether real documentary evidence is required.
- Choose a sharp frame with the whole requested edge segment, tool groove or cloth, contact point, hand anatomy, support, stitch line, and layers visible.
- Map protected anchors: leather outline, thickness, layer boundaries, grain, dye, stitch spacing, holes, tool, fingers, bench, scraps, shadows, and endpoint.
- Request one short pass with direction, distance, speed, pressure cue, contact rule, and stable endpoint; keep the camera locked for the first version.
- Inspect at quarter speed for sliding leather, lost contact, changing thickness, melting edge, doubled fingers, drifting stitches, new compound, reverse grain, or shadow jumps.
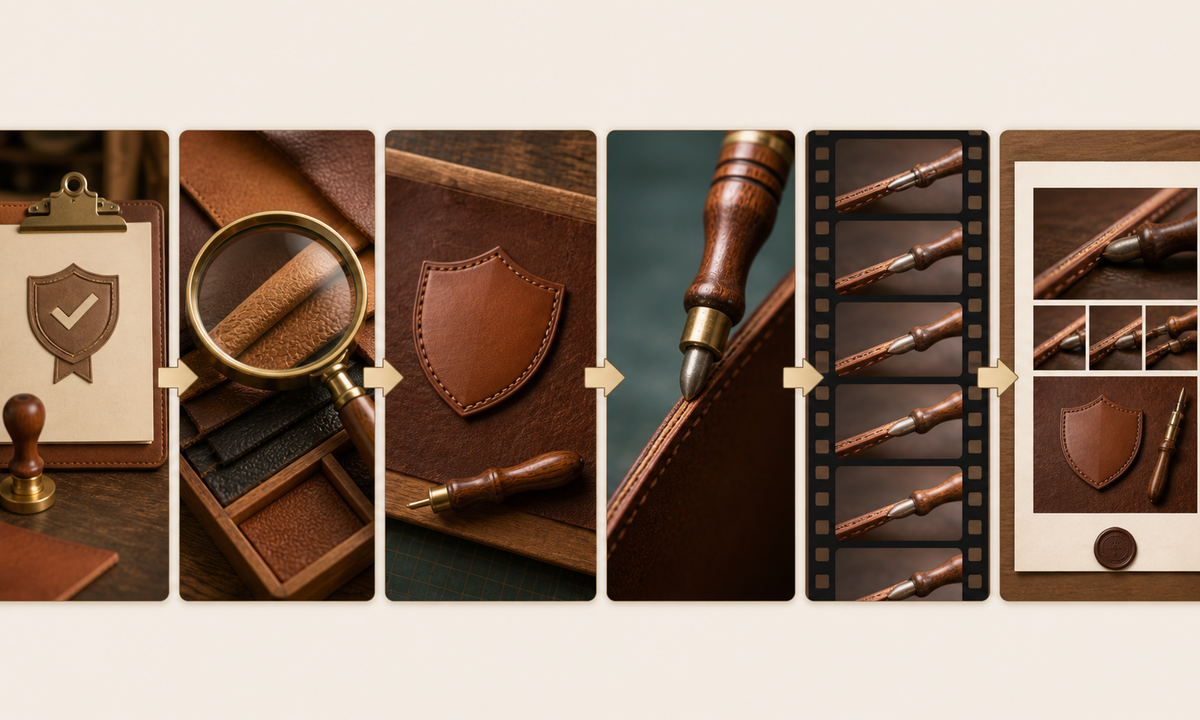
- Use real footage for preparation, repeated passes, heat, compounds, edge transformation, final polish, durability, and maker proof; add verified captions and disclosure in post.
Example prompt variants
- Four-second macro: the existing wooden slicker travels once along the visible brown wallet edge from left to right, preserve groove contact, leather layers, stitch line, hand grip, bench and locked camera.
- Three-second cloth pass: one approved canvas cloth moves over the already dyed belt edge for a short stroke, preserve edge color, grain, holes, buckle-free crop, fingers and no finish transformation.
- Five-second hand-tool detail: the existing burnisher makes one slow pass around the visible rounded corner and holds, preserve radius, layer thickness, stitches, tool groove, support and light.
Quality checklist
- Leather type, piece stage, layers, grain, edge method, compound, tool, maker context, safety, and intended claim match verified sources.
- Piece shape, thickness, edge profile, color, grain, stitch spacing, holes, tool groove, hand anatomy, contact, bench, and endpoint remain stable.
- Motion has plausible direction, pressure, friction, timing, material support, shadows, and no impossible sliding or surface transformation.
- The clip does not prove handmade origin, material grade, chemical safety, durability, waterproofing, speed, mastery, or final quality without real evidence.
- Rights, source, process map, prompt, output, frame review, maker approval, caption, disclosure, publication, and removal remain traceable.
Mistakes to avoid
- Prompting cutting, beveling, dyeing, applying compound, heating, burnishing, and polishing as one transformation from a single still.
- Letting the tool float, change grooves, pass through fingers, or make the leather edge shrink, melt, recolor, or become perfectly glossy.
- Ignoring stitch lines, layered edges, holes, grain direction, hand grip, support, scraps, reflections, and compound already visible.
- Publishing illustrative motion as proof of the maker, leather type, hand process, safety, finish quality, or durability.
Related AIBase pages
Practical next step
Open the most relevant AIBase generator, run one narrow prompt first, and save the best result before adding more constraints. The fastest way to improve output quality is to compare one variable at a time: subject, camera, background, lighting, then final polish.