
Seedance 2 Wood Sanding Process Video Prompts from Workshop Photos
Animate one documented sanding action from authorized workshop photos while preserving grain, tool contact, grit sequence, dust controls, PPE, hands, workholding, and honest finish state.
Quick answer
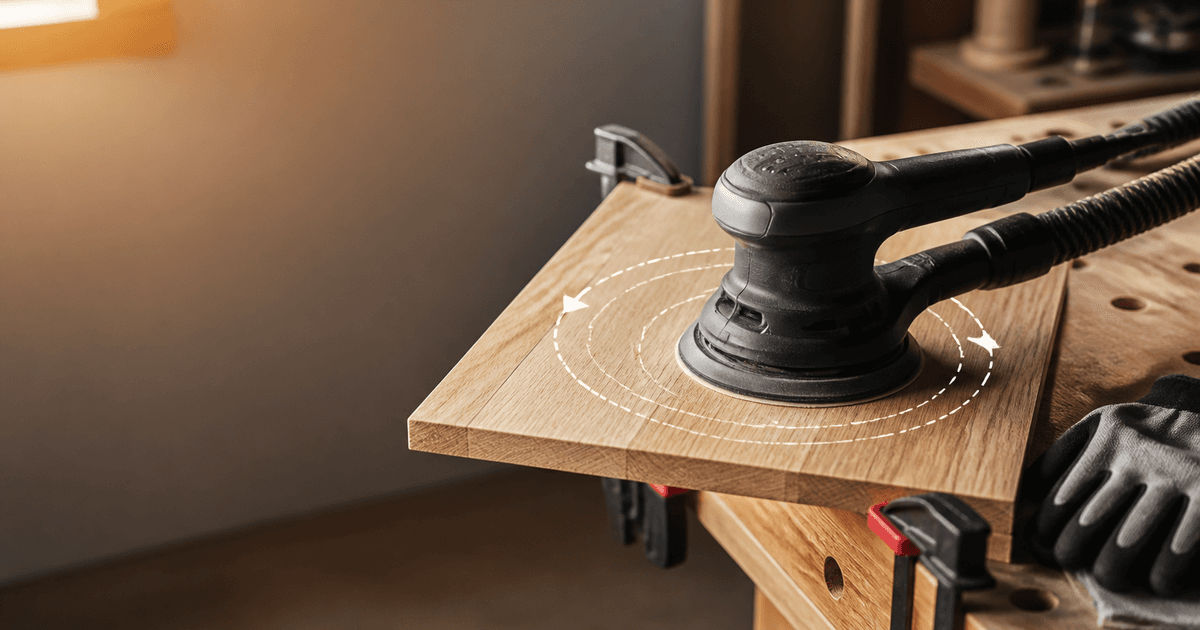
Start from a real photo taken during the exact sanding step and animate only one short pass. Specify tool type, documented grit, travel direction, contact zone, workholding, dust extraction, PPE, and where the tool stops. Preserve grain, edges, joinery, defects, hands, cable or hose, bench, clamps, and current finish; do not imply a complete grit sequence or finished result from one generated clip.
Who this guide is for
Furniture makers, woodworkers, tool educators, craft schools, restoration studios, maker brands, and social teams turning authorized process stills into short behind-the-scenes clips.
Recommended model
| Use case | Recommended model | Why |
|---|---|---|
| This workflow | Seedance 2 image-to-video for one source-led sanding action | A bounded motion prompt can extend a real workshop frame without inventing an entire manufacturing sequence, but safe technique and finish claims must stay anchored to documented practice. |
AIBase is an independent creative platform. Model names are shown only to identify supported underlying technologies and workflow choices.
Prompt template
Use the uploaded authorized workshop photo as the exact first frame. Animate only [one sanding pass] with [documented hand block / random-orbit sander], [verified grit], moving [direction and distance] over [specific surface zone] for [3-5 seconds]. Preserve exact wood species appearance, grain, color, edge profile, joinery, defects, pencil marks, current surface state, tool body, abrasive, pad contact, hands and fingers, grip, PPE, dust hose or extraction, cable, clamps, bench, background, light, camera, and shadows. Minimal source-consistent dust only if visible. No missing PPE, lifted workpiece, spinning hand, warped board, erased defect, invented finish, spark, smoke, text, sound, logo mutation, or watermark.
Step-by-step workflow
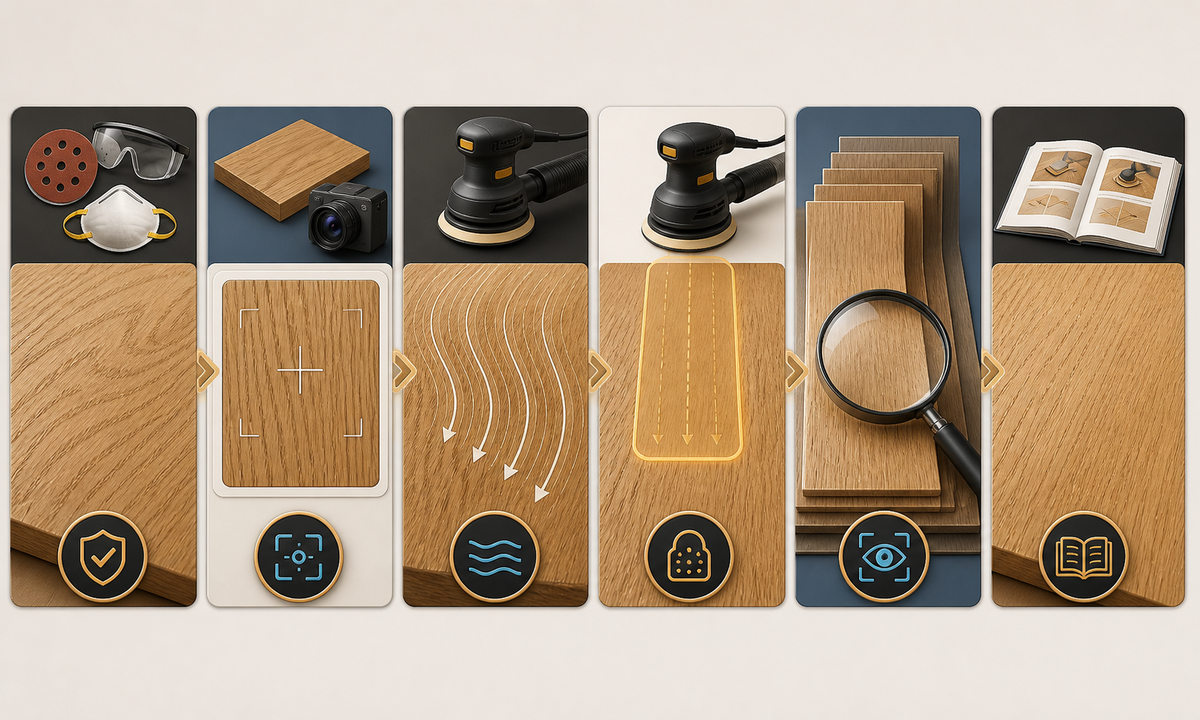
- Verify the real process: wood and coating, sanding objective, abrasive type and grit, sequence, tool speed, direction, edge treatment, extraction, PPE, workholding, and instructor approval.
- Choose a source frame with visible safe grip, stable workholding, connected extraction where required, clear contact zone, and no confidential plans or bystanders.
- Map fixed board edges, grain landmarks, joinery, defects, clamps, cable or hose, hands, protected fingers, tool plane, pass direction, distance, and stop point.
- Generate one three-to-five-second pass with a locked or deliberately documented camera and no transition to a finished state.
- Inspect frame by frame for hand mutation, pad lift, impossible pressure, board movement, grain swimming, edge rounding, disappearing marks, dust bursts, PPE loss, and tool or clamp drift.
- Add the verified grit, step number, safety context, maker credit, material, finish sequence, disclosure, and full tutorial link separately.
Example prompt variants
- Four-second hand-sanding pass along the grain on the visible oak tabletop center, preserve sanding block, 180-grit context, two-hand grip, bench dogs, grain landmarks, pencil guide marks, and dust-free locked camera.
- Three-second random-orbit pass across the approved birch panel test area, preserve connected extraction hose, respirator, hearing protection, clamps, pad flatness, cable, edge profile, and current unfinished color.
- Five-second detail sanding on a documented chair rail curve with folded abrasive, small back-and-forth motion only, preserve fingers outside the pinch zone, profile, joinery, patina boundary, and no complete restoration claim.
Quality checklist
- Wood, coating, objective, abrasive, grit, tool, speed context, direction, extraction, PPE, and workholding match the documented step.
- Grain landmarks, edge profile, joinery, defects, guide marks, current finish, clamps, bench, hose, cable, hands, and tool remain stable.
- Tool contact, pressure, pass direction, distance, endpoint, dust, and body mechanics are plausible and safe for the shown setup.
- The clip does not imply a complete grit sequence, defect removal, restoration, dust safety, surface flatness, or final finish quality.
- Source permission, process notes, prompt, frame review, craft and safety approval, disclosure, caption, and publication remain traceable.
Mistakes to avoid
- Prompting a full sanding transformation from rough stock to finished furniture in one shot.
- Allowing the model to remove respirators, hearing protection, clamps, hoses, guide marks, or visible defects for a cleaner image.
- Showing the tool tilted, floating, crossing an unsafe edge, trapping the cable, or passing over fingers.
- Presenting generated dust behavior or surface smoothness as proof of extraction performance, grit result, or finish readiness.
Related AIBase pages
Practical next step
Open the most relevant AIBase generator, run one narrow prompt first, and save the best result before adding more constraints. The fastest way to improve output quality is to compare one variable at a time: subject, camera, background, lighting, then final polish.