
Seedance 2.0 Unboxing Video Prompts From a Product Photo
Turn a product photo into an unboxing-shot concept with Seedance 2.0 using identity anchors, one hand action, packaging physics, a controlled camera, and an edit-ready ending.
Quick answer
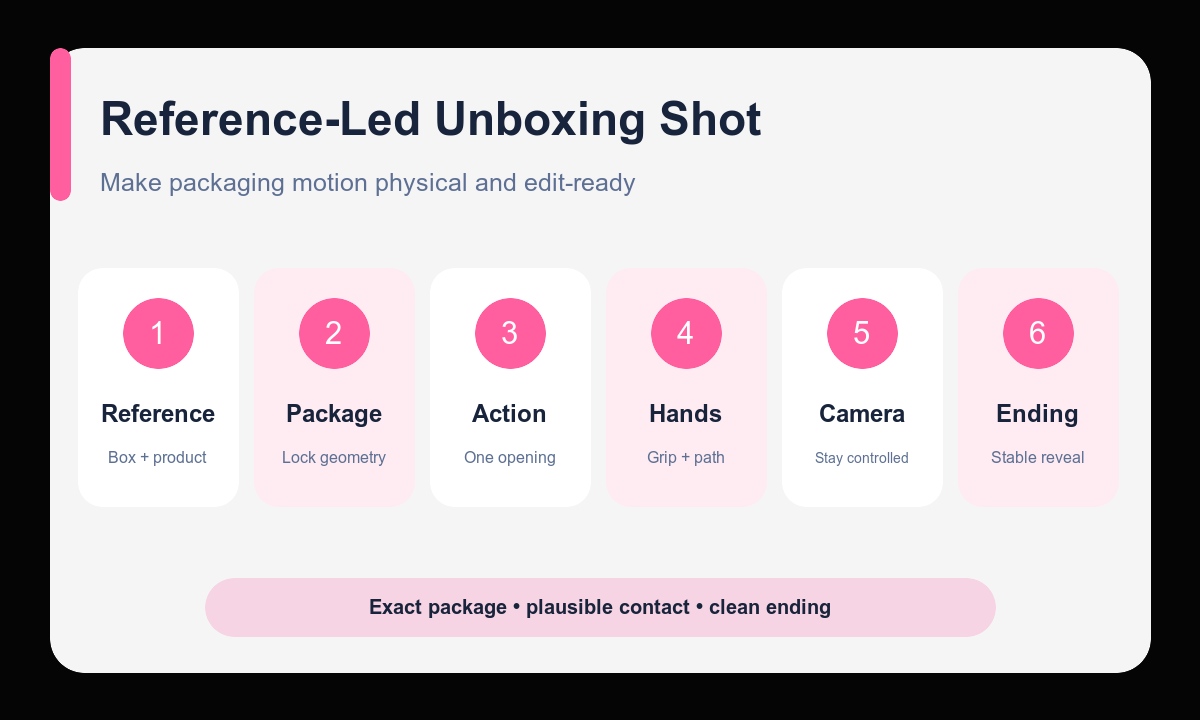
Use a clean product-and-packaging reference, protect every visible shape and label zone, and animate one short action such as lifting the lid or removing the inner tray. Keep hands partially framed, define how packaging parts move, and finish on a stable product reveal that an editor can cut to.
Who this guide is for
Ecommerce, launch, and social teams previsualizing unboxing hooks, packaging reveals, creator briefs, product-page loops, and shot lists before filming a real product.
Recommended model
| Use case | Recommended model | Why |
|---|---|---|
| This workflow | Seedance 2.0 in image-to-video mode | The reference-led video route is appropriate for exploring a short product reveal where the supplied photo anchors packaging, product placement, color, and composition. |
AIBase is an independent creative platform. Model names are shown only to identify supported underlying technologies and workflow choices.
Prompt template
Use the uploaded product-and-box photo as the exact identity reference. Keep [box dimensions, color, material, print zones, seals, tray], [product silhouette, color, controls, label zones], and [table/background] unchanged. Animate one action: [hand enters from direction], [grips exact part], [opens/lifts/slides once], and [reveals product]. Packaging hinges, tray, tissue, and shadows move naturally. Camera [locked or one slow push]. End on [stable reveal frame with copy space]. Duration [4-15 seconds], [aspect ratio]. No redesign, extra item, changing text, invented accessory, impossible fold, fused finger, extra finger, jump cut, camera shake, claim, logo change, or watermark.
Step-by-step workflow
- Choose a source that clearly shows the product, box structure, lid or tray, print zones, and intended opening direction.
- Write separate anchors for packaging, product, surface, camera, and background.
- Plan one hand action that can start and finish inside the selected duration.
- Describe the contact point and physical path of the lid, seal, tray, tissue, or product.
- Set a clean opening frame and a stable reveal ending with room for an editorial cut.
- Inspect hands, hinges, packaging print, product geometry, shadows, and missing or invented contents before using the result.
Example prompt variants
- Keep the exact matte black box, silver print zone, foam insert, earbud case shape, and desk; one hand enters from lower right, lifts the hinged lid once, pauses on the open product reveal; locked overhead camera, six seconds.
- Keep the exact cream skincare carton, bottle silhouette, cap, label zone, tissue, and stone surface; two fingertips slide the inner tray forward in one smooth action; slow front push-in, finish with the bottle centered and left copy space.
- Keep the exact shoe box proportions, color blocks, tissue placement, sneaker silhouette, and wood table; hands lift only the tissue edge and fold it back naturally; locked three-quarter camera, end before the product is removed.
Quality checklist
- Packaging dimensions, opening structure, print zones, and product geometry match the reference.
- Hands maintain plausible finger count, grip, contact, occlusion, and motion.
- Hinges, trays, tissue, seals, contents, shadows, and reflections obey believable physics.
- The single action finishes on a stable product reveal with an editorial exit.
- No accessory, claim, label, feature, or package content was invented.
Mistakes to avoid
- Trying to open, remove, assemble, demonstrate, and repack the product in one shot.
- Leaving the hand entry, grip point, packaging path, or ending frame unspecified.
- Ignoring small changes in labels, seals, tray geometry, or included accessories.
- Presenting a generated unboxing concept as proof of actual package contents or product behavior.
Related AIBase pages
- Create an unboxing shot with Seedance 2.0
- Animate a product photo with Seedance 2.0
- Build fashion product video prompts
Practical next step
Open the most relevant AIBase generator, run one narrow prompt first, and save the best result before adding more constraints. The fastest way to improve output quality is to compare one variable at a time: subject, camera, background, lighting, then final polish.