
Nano Banana 2 Prompts to Remove Adhesive Residue From Ceramic Product Photos
Remove verified sticker adhesive from authorized ceramic product photos while preserving glaze, crazing, decoration, chips, kiln marks, reflections, and honest condition.
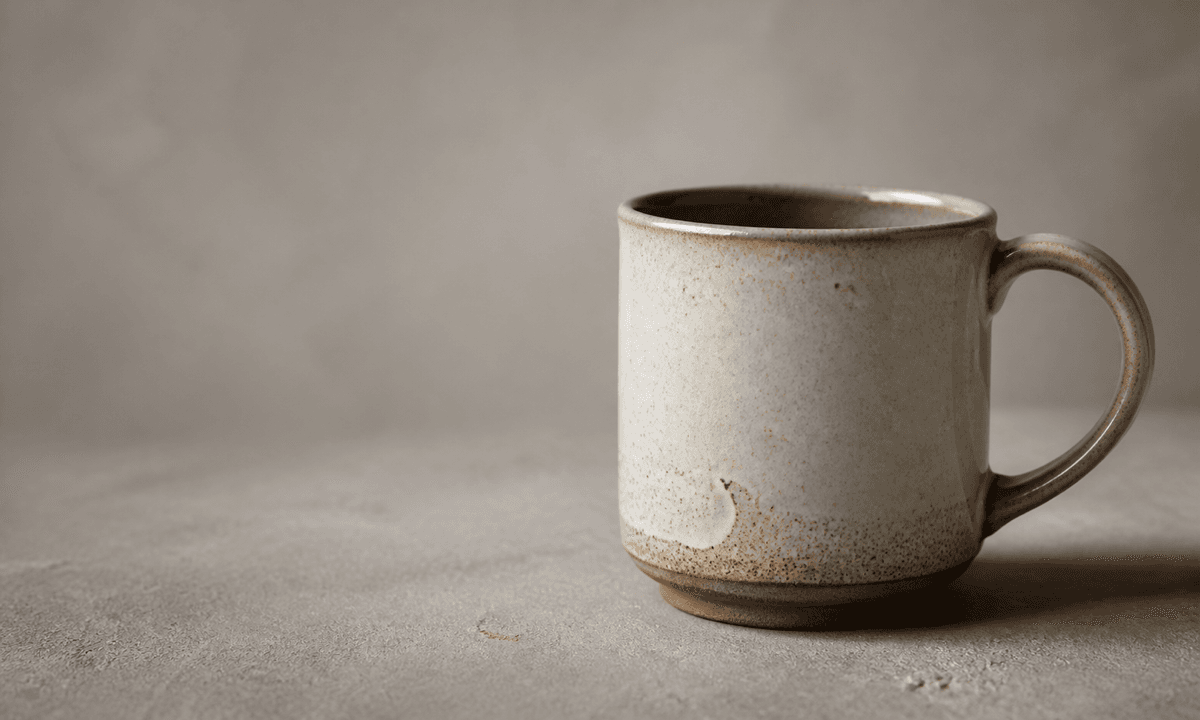
Quick answer
First confirm the marked patch is removable sticker adhesive from styling or inventory handling, not glaze variation, crazing, a kiln mark, repaired damage, price-label evidence, or part of the sold item’s disclosed condition. Mask only the residue and ask Nano Banana 2 to reconstruct that small area from authorized clean views while locking silhouette, glaze color and gloss, decoration, chips, scratches, reflections, foot ring, shadow, crop, and every unmarked detail. If no reference shows the hidden surface, clean and reshoot the item instead of inventing it.
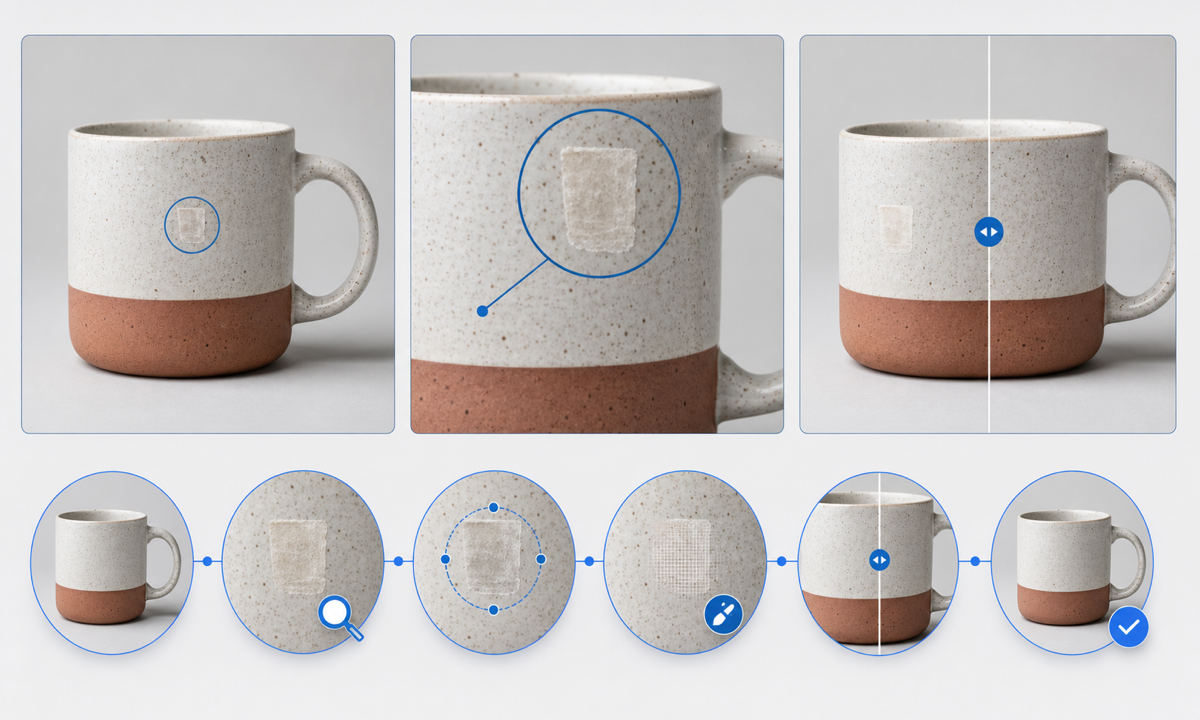
Who this guide is for
Ceramics studios, tableware brands, vintage sellers, home-goods retailers, museums, marketplaces, and product retouchers cleaning authorized catalog photos after a removable label or styling tab was taken off.
Recommended model
| Use case | Recommended model | Why |
|---|---|---|
| This workflow | Nano Banana 2 image-to-image for one tightly masked residue cleanup | A localized edit can remove a temporary photographic artifact while approved reference views remain authoritative for glaze, decoration, reflections, construction, age, and condition. |
AIBase is an independent creative platform. Model names are shown only to identify supported underlying technologies and workflow choices.
Prompt template
Edit the uploaded authorized photo of [exact ceramic SKU, colorway and view]. Remove only the marked verified adhesive residue at [precise location], reconstructing that tiny area from [approved clean reference]. Preserve exact silhouette, rim, handle, spout, foot, glaze color, gloss, crazing, speckle, brushwork, transfer print, embossing, kiln marks, chips, scratches, repair evidence, reflections, shadow, surface, crop and all unmarked condition. No polishing, crack repair, chip repair, pattern completion, color change, symmetry correction, new highlight, word, logo or watermark.
Step-by-step workflow
- Verify the exact item, material, glaze, decoration, age, sample condition, sales condition, image rights, and evidence that the target is removable adhesive rather than product history or damage.
- Keep an untouched master and collect authorized clean front, side, back, base and detail views that document the surface hidden by the residue.
- Mask one residue patch narrowly and protect glaze boundaries, crazing lines, speckles, brush marks, print edges, chips, repairs, reflections, foot rings and contact shadows.
- Run one local edit, rejecting any output that polishes the whole piece, regularizes handmade variation, completes a pattern, repairs age, changes gloss, or moves a highlight.
- Compare source and result at full resolution and listing size against alternate views for halos, cloned glaze, lost crazing, softened decoration, broken reflections and altered condition.
- Export only the approved correction and retain the master, reference set, mask, prompt, condition decision, reviewer, disclosure choice and rollback file.
Example prompt variants
- Remove only the marked sticker-glue crescent beneath the authorized stoneware mug handle; preserve matte speckled glaze, throwing rings, handle join, tiny kiln mark, shadow and crop.
- Remove one verified adhesive patch from the underside of the approved porcelain plate; preserve foot ring, maker-mark zone, glaze pinholes, wear, edge chips and neutral background.
- Remove the removable styling-tab residue beside the documented vase label zone; preserve reactive glaze flow, highlight, silhouette, crazing, base, reflection and every unmarked scratch.
Quality checklist
- Item identity, material, glaze, decoration, dimensions, age, sample and disclosed condition match the authorized source set.
- Only verified temporary adhesive changed; crazing, pinholes, speckles, kiln marks, brushwork, scratches, chips, repairs, wear and maker evidence remain honest.
- Silhouette, rim, handle, spout, foot, pattern, gloss, reflections, highlights, shadows, grain and background edges remain continuous.
- The edit does not imply unused, flawless, restored, food-safe, dishwasher-safe, handmade, antique, authentic or another unsupported state or claim.
- Master, references, mask, prompt, output, condition review, approval, disclosure, export and rollback remain traceable.
Mistakes to avoid
- Using a global clean-ceramic prompt that erases honest glaze variation, crazing, kiln marks, wear, chips or restoration evidence.
- Treating a crack, repair line, transfer-print loss, glaze crawl, firing mark or maker label as disposable residue.
- Reconstructing hidden decoration or handmade glaze from symmetry when no authorized view documents it.
- Publishing a cleaned image that materially changes the condition description for vintage, handmade, returned or refurbished ceramics.
Related AIBase pages
Practical next step
Open the most relevant AIBase generator, run one narrow prompt first, and save the best result before adding more constraints. The fastest way to improve output quality is to compare one variable at a time: subject, camera, background, lighting, then final polish.