
Nano Banana 2 Prompts to Remove Dents from Metal Packaging Photos
Repair small dents in authorized can, tin, and bottle product photos while preserving real package geometry, print, seams, reflections, and compliant ecommerce presentation.
Quick answer
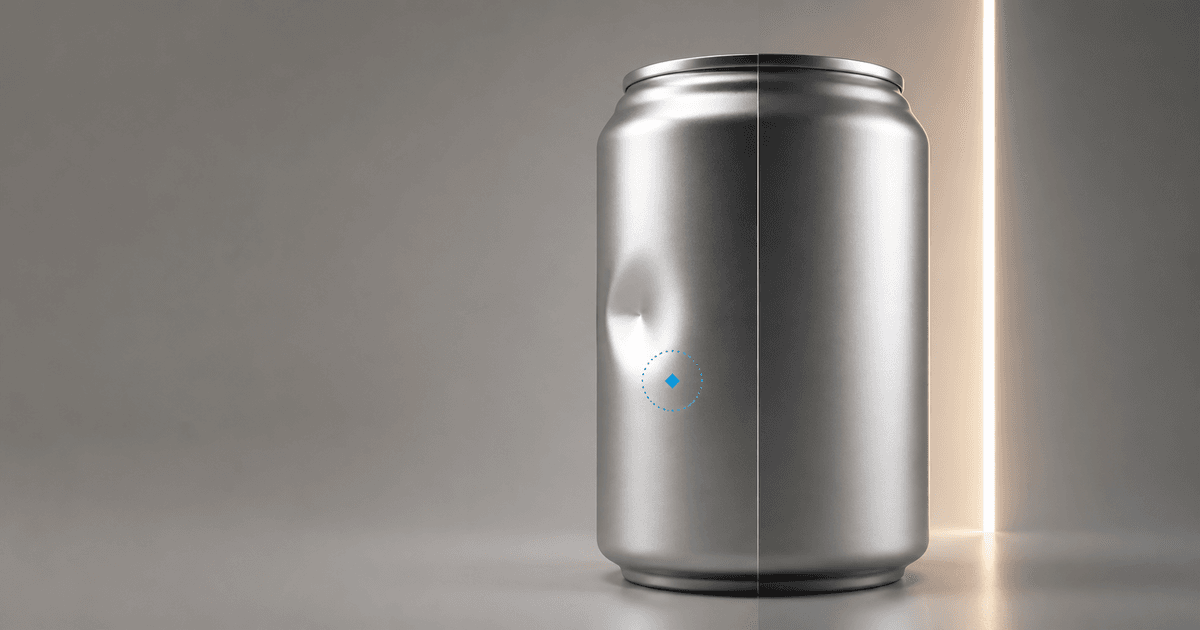
Use an authorized, sharp source photo and treat the dent as one bounded surface repair. Protect the container silhouette, diameter, rim, seam, opening, label print, color, highlight direction, shadow, camera, and crop before describing the damaged patch. Repair only a shallow cosmetic dent that is not material to the item being sold; if the customer will receive the dented unit, replacing it in the photo would misrepresent condition. Keep exact words and regulated package information in the source or composite them from approved artwork after the edit.
Who this guide is for
Ecommerce teams, packaging designers, photographers, beverage and personal-care brands, and marketplace operators cleaning minor handling damage from a representative product image when undamaged inventory is actually offered. It is not a workflow for hiding damage on a used, collectible, clearance, or one-of-one item whose condition affects the purchase decision.
Recommended model
| Use case | Recommended model | Why |
|---|---|---|
| This workflow | Nano Banana 2 in image-to-image mode for a localized surface correction | The reference-led edit can preserve the photographed SKU while rebuilding a small metal region. Success depends more on a narrow mask-like instruction and reflection review than on adding broad polish language. |
AIBase is an independent creative platform. Model names are shown only to identify supported underlying technologies and workflow choices.
Prompt template
Use the uploaded authorized [can/tin/aluminum bottle] photo as the exact source. Preserve SKU, container silhouette, diameter, height, rim, lid, pull tab, base, seam, neck, cap, label boundaries, every existing word and mark, color, finish, condensation, reflection cards, highlight direction, contact shadow, background, camera, crop, and resolution. Repair only the shallow dent at [precise clock position and size]. Reconstruct the original [brushed/matte/gloss] metal curvature with continuous highlight and print alignment. Do not resize, inflate, narrow, rotate, relabel, smooth unrelated texture, remove lawful condition evidence, add claims, invent hidden print, or change any other pixel area.
Step-by-step workflow
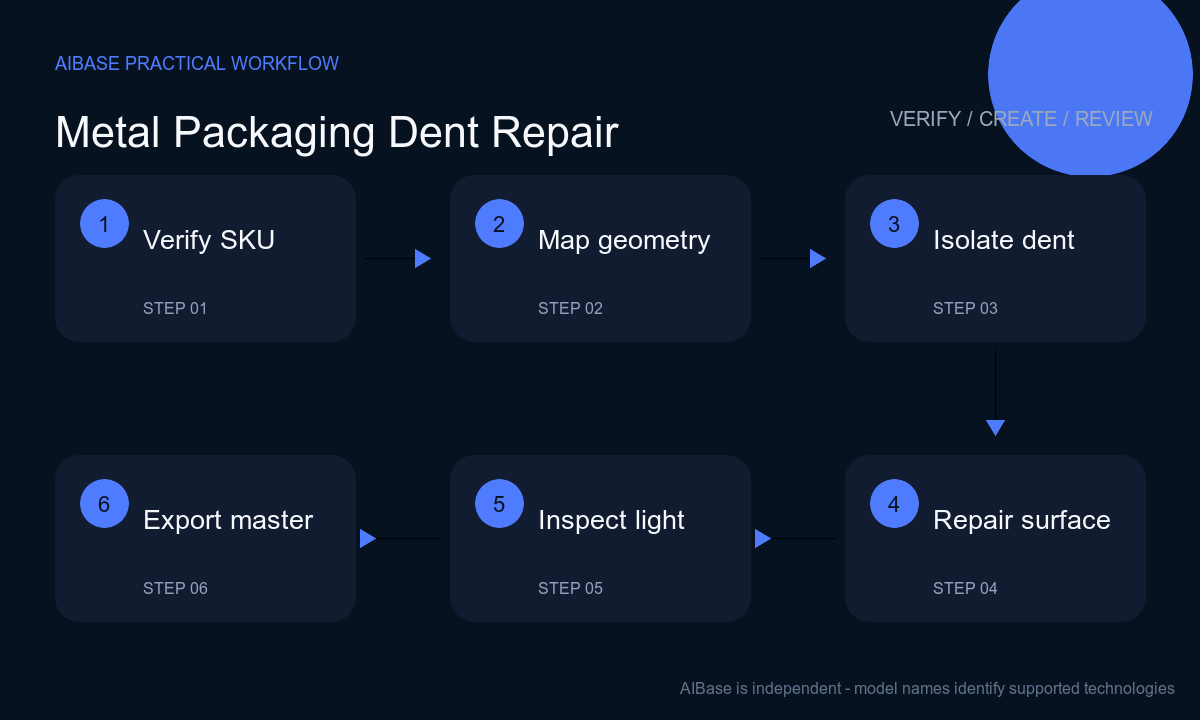
- Confirm the pictured SKU, package version, market, approved artwork, usage rights, and sale condition. Decide whether removing the dent truthfully represents the inventory; keep the original when condition is specific to the actual item.
- Map the rigid geometry before editing: top and bottom ellipse, sidewalls, seam, rim, lid, neck, cap, print panels, embossing, brushed grain, specular bands, contact point, and shadow direction.
- Describe the dent by location, width, height, depth cue, and nearby anchor. Ask for one localized repair pass without global relighting, sharpening, background cleanup, label reconstruction, or package redesign.
- Compare the result beside the source at full size. Trace the outer silhouette and reflection bands; a repaired patch should continue the cylinder or tin plane without a bulge, flat spot, doubled seam, or floating label.
- Restore exact legal copy, ingredients, quantity, recycling marks, barcodes, warnings, and logos from approved source artwork whenever the edit alters legibility. Do not trust generated characters as packaging truth.
- Export the required marketplace ratios from one approved master, record the source and edit decision, and keep an unedited file available for audit, customer-service questions, or condition-specific listings.
Example prompt variants
- Repair only the two-centimeter shallow dent on the lower-right wall of this matte aluminum beverage can; preserve exact cylinder width, rim, pull tab, printed panel, condensation droplets, cool vertical highlight, tabletop shadow, camera and crop; no label, color, flavor, claim, word or background change.
- Remove only the small inward crease beside the hinge of this authorized rectangular tea tin; continue the flat side plane, rolled edge, cream enamel and narrow reflection; preserve lid alignment, corner radius, artwork boundaries, embossing, surface wear and shadow; do not make the vintage tin look new.
- Correct only the thumb-sized handling dent below the shoulder of this brushed metal pump bottle; preserve neck, pump, shoulder curve, body diameter, vertical grain, label zone, exact product color and base contact; rebuild one continuous reflection without changing print or retouching unrelated scratches.
Quality checklist
- The edited photo represents the condition, SKU, package version, size, color, finish, and included components customers will receive.
- Silhouette, diameter, rim, lid, seam, shoulder, cap, base, print boundaries, embossing, and contact point align with the source outside the damaged patch.
- Metal grain, curvature, reflection bands, condensation, edge contrast, background light, and shadow remain physically continuous through the repair.
- Exact label copy, quantity, barcode, warnings, recycling marks, certification marks, and logo come from verified source material and remain readable at delivery size.
- Original, edited master, approved artwork, prompt, reviewer, export ratios, marketplace destination, condition decision, and replacement date are traceable.
Mistakes to avoid
- Using make the package flawless as a global instruction, which can change cylinder width, rim shape, print, finish, shadow, and the honest surface character of the product.
- Removing a dent from the exact used or collectible unit being sold when that damage affects grade, price, safety, returns, or the buyer’s condition assessment.
- Accepting a locally smooth patch whose highlight bends the wrong way, creating a hidden bulge even though the dent appears gone at thumbnail size.
- Letting the model redraw ingredients, net quantity, barcode, warning, certification, logo, flavor, or claim instead of compositing verified packaging artwork.
Related AIBase pages
Practical next step
Open the most relevant AIBase generator, run one narrow prompt first, and save the best result before adding more constraints. The fastest way to improve output quality is to compare one variable at a time: subject, camera, background, lighting, then final polish.