
Nano Banana 2 Prompts to Remove Safety Pins From Flat-Lay Product Photos
Remove visible styling pins from flat-lay apparel and textile photos while preserving seams, folds, edge shape, fabric texture, print alignment, and honest product condition.
Quick answer
Circle only the temporary safety pins or styling pins that were added for the shoot, then remove one pin per edit. Lock the garment outline, real fasteners, seam intersections, hems, folds, weave, print registration, labels, shadows, and every product detail. If a pin crosses a seam, decorative stitch, pleat, or closure that is not documented elsewhere, use another reference or reshoot instead of asking the model to invent hidden construction.
Who this guide is for
Fashion retailers, textile brands, resale teams, catalog studios, and photographers cleaning flat-lay shirts, scarves, bedding, fabric accessories, and folded garments after styling.
Recommended model
| Use case | Recommended model | Why |
|---|---|---|
| This workflow | Nano Banana 2 image-to-image for one localized pin removal | A tightly masked correction can repair a small temporary styling artifact while the approved source image remains the product-truth anchor. |
AIBase is an independent creative platform. Model names are shown only to identify supported underlying technologies and workflow choices.
Prompt template
Edit the uploaded authorized flat-lay product photo. Remove only the [count] temporary safety pin(s) marked at [precise locations]. Reconstruct only the tiny covered fabric area using verified nearby weave, print, fold, and lighting continuity. Preserve exact SKU, garment silhouette, dimensions, neckline, sleeves, hem, seams, topstitching, pleats, darts, real buttons, snaps, zippers, labels, print scale and alignment, fabric grain, wrinkles, edge softness, shadows, crop, background, and condition. No reshaping, dewrinkling, recoloring, symmetry correction, seam invention, closure change, label change, logo mutation, text, or watermark.
Step-by-step workflow
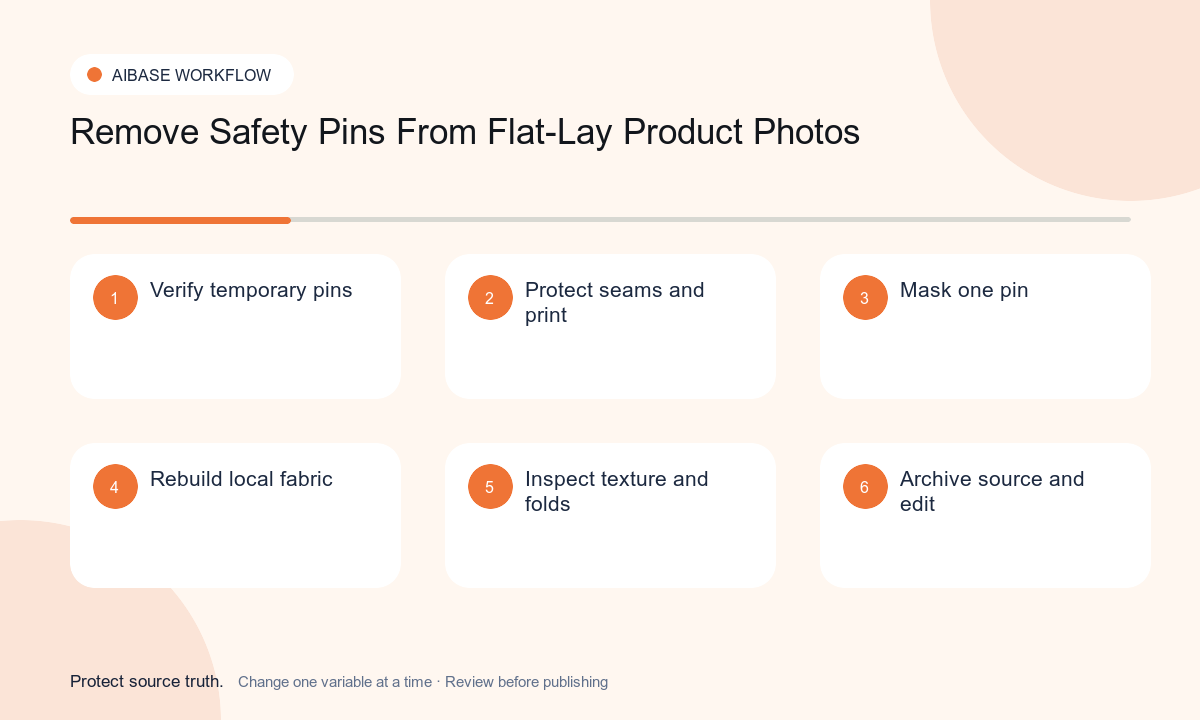
- Confirm each target is a temporary styling pin, not a functional fastener, construction detail, repair, or condition evidence.
- Save the untouched source and collect an approved unpinned detail, alternate angle, or matching fabric reference wherever a pin crosses important structure.
- Map protected seams, stitches, print landmarks, folds, hems, closures, labels, product edges, shadows, and condition marks before editing.
- Remove one pin at a time with a small edit region and request only local fabric and lighting continuity.
- Compare the result at full size and thumbnail size for repeated texture, broken weave, shifted print, erased stitches, warped folds, and altered silhouette.
- Export the corrected image with SKU, source, prompt, editor, approval, and an undoable layered master linked to the original.
Example prompt variants
- Remove only the silver safety pin near the lower-right hem of the approved cotton shirt; preserve the hem fold, double topstitching, blue stripe spacing, fabric puckering, and soft table shadow.
- Remove only two temporary pins outside the visible edge of the authorized silk scarf; preserve the rolled hem, printed border, corner angle, sheen, ripples, and background texture.
- Remove one styling pin from the approved quilt flat lay where an alternate unpinned reference documents the covered stitch; preserve patch boundaries, batting loft, thread color, quilting line, and fold shadow.
Quality checklist
- Every removed item is documented as temporary styling hardware rather than a product component or condition detail.
- Silhouette, dimensions, seams, stitches, hems, pleats, folds, real closures, labels, print, weave, wrinkles, and shadows match the source and references.
- Repaired areas contain no smeared pattern, repeated texture, missing stitch, false symmetry, softened edge, color shift, or invented fabric construction.
- The edit does not hide damage, repair, wear, included hardware, fit behavior, material quality, or another fact buyers need.
- Original, target map, references, prompt, comparison, approval, export, and rollback remain traceable.
Mistakes to avoid
- Removing every visible metal detail without confirming which ones are temporary and which belong to the product.
- Using a broad cleanup prompt that also straightens hems, smooths wrinkles, changes folds, or idealizes the garment silhouette.
- Guessing what lies beneath a pin that crosses a seam, pleat, printed border, or decorative stitch.
- Publishing the cleanup without preserving the original or disclosing material condition when the edit could affect a resale decision.
Related AIBase pages
- Open Nano Banana 2 image editing
- Remove garment clips from apparel photos
- Remove hanger loops from apparel photos
Practical next step
Open the most relevant AIBase generator, run one narrow prompt first, and save the best result before adding more constraints. The fastest way to improve output quality is to compare one variable at a time: subject, camera, background, lighting, then final polish.