
Nano Banana 2 Prompts to Remove Tailor's Chalk from Apparel Product Photos
Remove only verified tailor's chalk and fitting marks from apparel photos while preserving fabric texture, seams, pattern alignment, garment shape, labels, and honest condition.
Quick answer
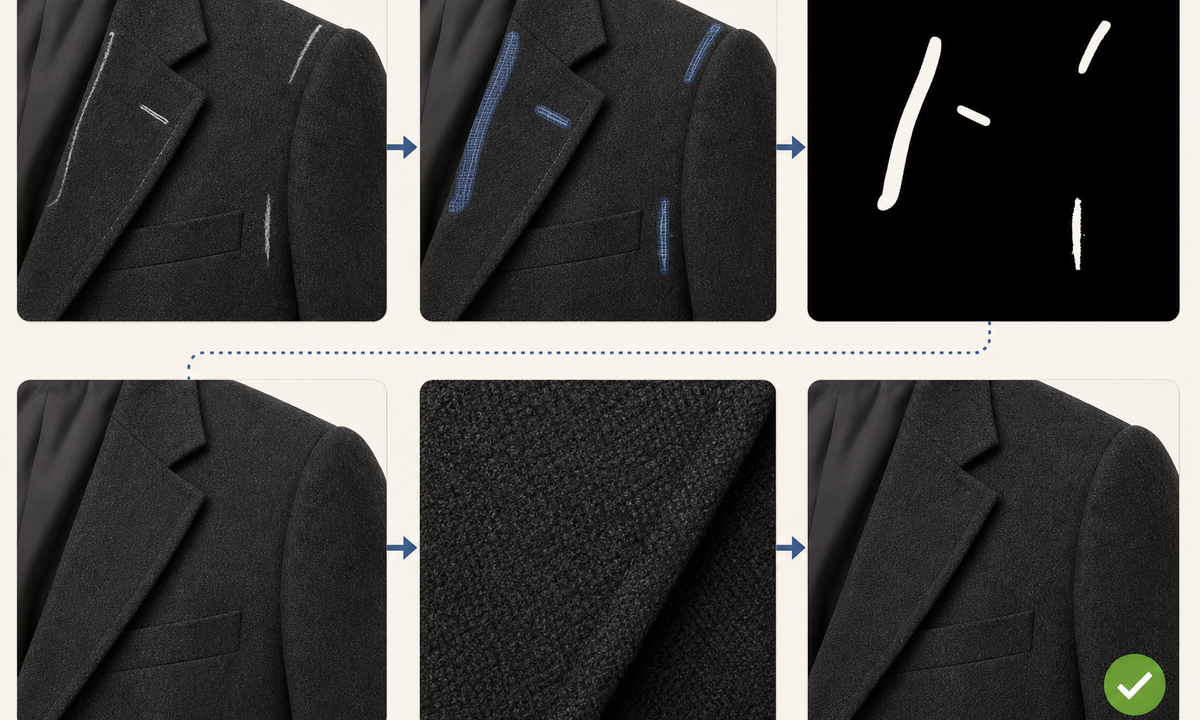
Confirm that each visible line is removable tailor’s chalk, wax, soap, or fitting pencil rather than a permanent print, dye effect, distressing detail, stain, seam guide that will remain on the sold item, or evidence of condition. Photograph an approved clean area of the same panel when possible. Mask one mark segment at a time and ask Nano Banana 2 to reconstruct only the immediately adjacent weave, nap, knit, color, fold, and light. Lock seams, darts, topstitching, pattern joins, buttons, labels, silhouette, shadows, and real defects. If cleaning the physical sample could change color or texture, photograph the cleaned item instead of inventing the result.
Who this guide is for
Fashion brands, tailoring studios, sample rooms, resale teams, product photographers, marketplaces, and catalog editors preparing accurate images of jackets, trousers, dresses, knitwear, and made-to-measure garments.
Recommended model
| Use case | Recommended model | Why |
|---|---|---|
| This workflow | Nano Banana 2 image-to-image for tiny source-led chalk cleanup | A narrow masked edit can reconstruct a small marked textile area from nearby source pixels while leaving garment construction and the rest of the approved photograph unchanged. |
AIBase is an independent creative platform. Model names are shown only to identify supported underlying technologies and workflow choices.
Prompt template
Use the uploaded authorized garment photo as the exact source. Remove only the marked confirmed [tailor's chalk / fitting pencil / wax / soap] line at [precise panel and location]. Reconstruct the smallest exposed area from the approved adjacent fabric reference. Preserve exact silhouette, panel geometry, lapels, darts, pleats, vents, pockets, hems, permanent seams, topstitching, pattern repeat and alignment, weave or knit gauge, nap direction, color, folds, labels, hardware, condition, background, shadow, crop, camera, and light. No stain removal, repair, dewrinkling, smoothing, recoloring, reshaping, seam change, pattern invention, label change, text, logo change, or watermark.
Step-by-step workflow
- Identify the exact SKU, sample revision, material, finish, colorway, and sellable condition; have the sample owner classify every marked line and approve its removal.
- Capture the original plus a clean reference area on the same fabric panel under the same light; record whether the real mark was removable without residue, color shift, or nap change.
- Map chalk endpoints and crossings while protecting seams, darts, pocket edges, pleats, checks, stripes, embroidery, hardware, labels, wear, and silhouette.
- Create separate tight masks for short segments and generate one localized reconstruction at a time; never mask across two panels, an edge, or a pattern join.
- Compare before and after at full resolution for erased texture, repeated fibers, softened seams, shifted checks, invented folds, color patches, missing wear, or changed shadows.
- Keep the original, classification note, clean reference, masks, prompts, comparison, product approval, and export together; ensure the listing matches the item customers receive.
Example prompt variants
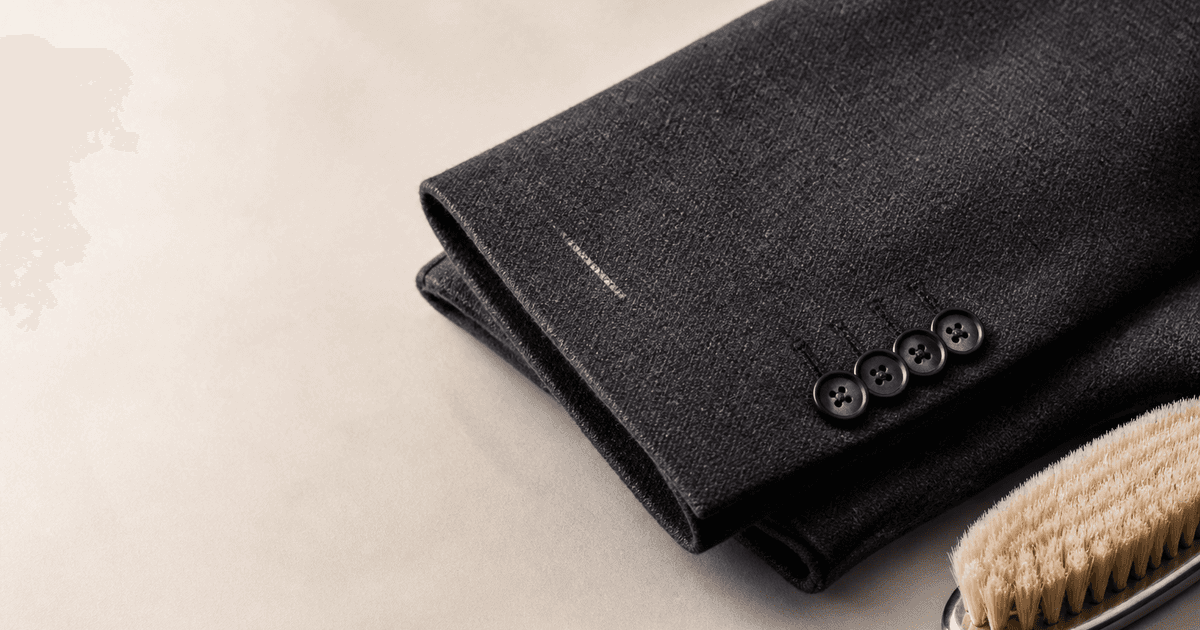
- Remove only the marked white fitting-chalk arc from the approved charcoal wool jacket sleeve, preserve four cuff buttons, sleeve seam, herringbone weave, nap, fold, edge and shadow.
- Remove the two confirmed blue chalk notches beside the approved cream linen trouser hem, preserve hem stitching, slub texture, crease, panel edge, color and every unmasked pixel.
- Remove one marked wax-pencil dot from the approved checked dress waist panel, use the nearby clean square as texture reference, preserve plaid alignment, dart, seam, silhouette and lighting.
Quality checklist
- The sample owner confirms each removed mark, cleaning outcome, SKU, revision, colorway, material, and delivered condition.
- Permanent print, dye, distressing, seams, darts, pleats, hems, pockets, embroidery, labels, hardware, wear, and defects remain unchanged.
- Weave, knit gauge, nap, pattern repeat, color, folds, edges, silhouette, background, light, and shadows match the source.
- No edit implies stain removal, repair, improved condition, altered tailoring, or easier physical cleaning than the real product supports.
- Source, material note, mark map, clean reference, masks, prompts, comparisons, approval, listing state, and export remain traceable.
Mistakes to avoid
- Removing a line because it looks like chalk without checking whether it is print, dye, distressing, damage, or a permanent production mark.
- Using a broad brush over lapels, checks, pleats, pockets, seams, or edges and forcing the model to redesign garment construction.
- Smoothing wool, linen, denim, suede, or knit texture until the cleaned patch looks newer than the physical item.
- Publishing the edit when shipped or resale inventory still carries the mark, residue, color change, or condition evidence.
Related AIBase pages
- Open Nano Banana 2 image editing
- Remove basting stitches from apparel photos
- Remove garment clips from product photos
Practical next step
Open the most relevant AIBase generator, run one narrow prompt first, and save the best result before adding more constraints. The fastest way to improve output quality is to compare one variable at a time: subject, camera, background, lighting, then final polish.