
Nano Banana Pro Architecture Exterior Render Prompts from Massing to Mood
Create clearer architecture exterior concepts with Nano Banana Pro prompts that protect massing, openings, materials, site context, camera, and design status.
Quick answer
Use an authorized massing image, sketch, or base render as the geometry reference. Protect footprint, floor count, roofline, openings, structural rhythm, setbacks, and camera before adding a limited material palette, site conditions, and one lighting scenario. Treat the result as concept visualization, not construction documentation.
Who this guide is for
Architects, visualization artists, developers, students, and design teams exploring exterior material studies, planning-presentation mood, competition directions, and stakeholder-friendly concept views.
Recommended model
| Use case | Recommended model | Why |
|---|---|---|
| This workflow | Nano Banana Pro image-to-image | A high-fidelity reference-led workflow suits exterior studies where the supplied massing and camera should remain stable while materials, landscape, weather, or presentation mood are explored. |
AIBase is an independent creative platform. Model names are shown only to identify supported underlying technologies and workflow choices.
Prompt template
Use the uploaded authorized [massing image/base render/sketch] as the exact geometry and camera reference. Preserve footprint, floor count, overall height, roofline, facade bays, opening sizes and positions, balconies, cores, setbacks, neighboring context, horizon, perspective, and crop. Apply only these materials: [facade material map]. Site: [verified context]. Lighting: [one condition]. Add only [limited entourage]. Keep this visibly a design concept. Do not add floors, move windows, change structure, invent site features, hide unresolved areas, add signage, or imply regulatory approval.
Step-by-step workflow
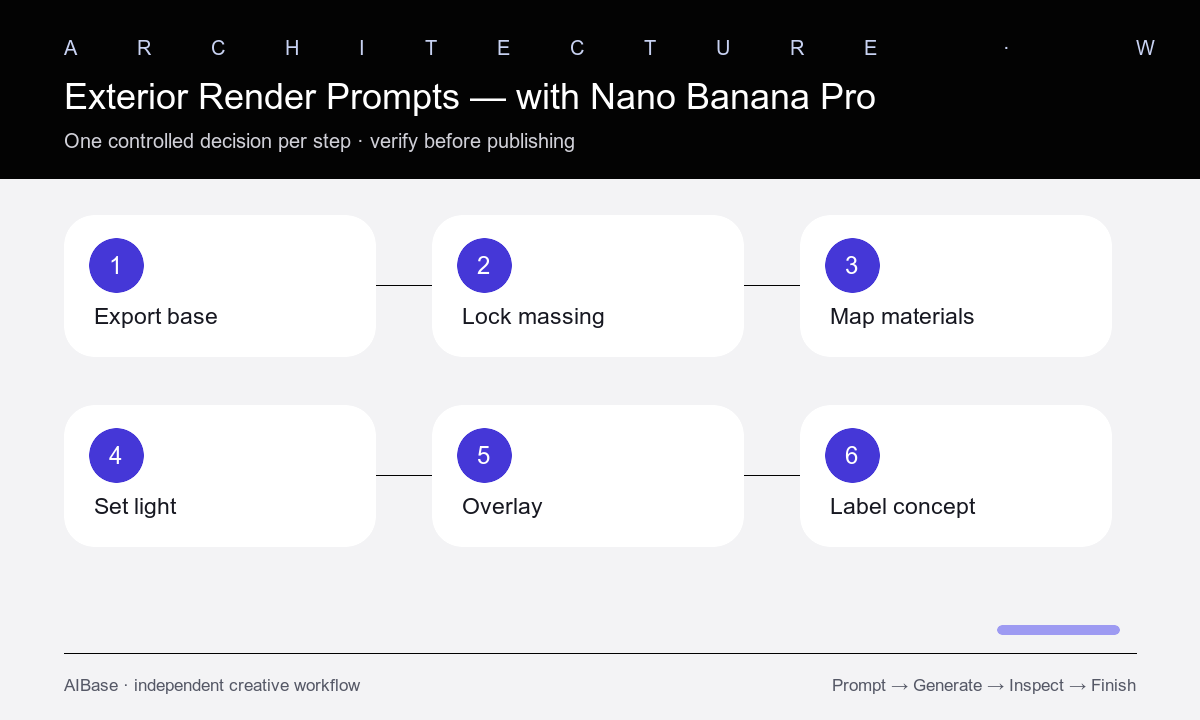
- Export a clean authorized base view with readable geometry, a deliberate camera, and no temporary annotations or selection outlines.
- Write a geometry lock covering floor count, roofline, openings, structural grid, balconies, setbacks, site edges, neighbors, and camera.
- Assign two to four materials to named facade zones with specific texture scale, joint direction, reflectivity, and weathering level.
- Choose one verified site condition and one lighting state; generate daylight, overcast, and dusk studies as separate controlled runs.
- Overlay the output against the base to detect shifted windows, added floors, altered boundaries, impossible reflections, or scale errors.
- Label the selected image as a concept visualization and pair it with current drawings, assumptions, and design-status notes.
Example prompt variants
- Keep the exact five-story courtyard massing and all openings; apply pale brick to solid bays, bronze metal to recessed frames, clear low-reflectivity glazing, overcast daylight, sparse verified street trees, camera unchanged.
- Preserve the exact coastal house roofline, terraces, columns, glazing, cliff profile, and horizon; use board-formed concrete, weathered timber screens, dark aluminum frames, soft late-afternoon light, no new pool or landscape feature.
- Keep the exact warehouse conversion shell, sawtooth roof, bay spacing, existing brick openings, neighboring walls, and street perspective; introduce dark steel entrance frames and restrained planting, cloudy morning, concept visualization.
Quality checklist
- Footprint, height, floor count, roofline, openings, grids, setbacks, balconies, and site boundaries match the source.
- Material assignments are consistent by facade zone with plausible scale, joints, depth, reflectivity, and weathering.
- Camera, perspective, horizon, sun direction, shadows, glazing reflections, people, vehicles, and vegetation are coherent.
- No invented neighbor, view, amenity, signage, landscape feature, access point, or regulatory implication appears.
- The image is labeled as a design concept and reviewed alongside current geometry and project assumptions.
Mistakes to avoid
- Using a beautiful style prompt before locking the architectural geometry and camera.
- Combining facade redesign, extra floors, new landscape, weather change, and camera movement in one pass.
- Accepting subtle window, balcony, boundary, or roofline changes because the overall image feels persuasive.
- Presenting a generated concept as an approved, buildable, or site-accurate final design.
Related AIBase pages
- Open Nano Banana Pro image-to-image
- Build interior design mockups
- Plan virtual staging responsibly
- Create property video prompts
Practical next step
Open the most relevant AIBase generator, run one narrow prompt first, and save the best result before adding more constraints. The fastest way to improve output quality is to compare one variable at a time: subject, camera, background, lighting, then final polish.